The Unveiling of the Turf Stack

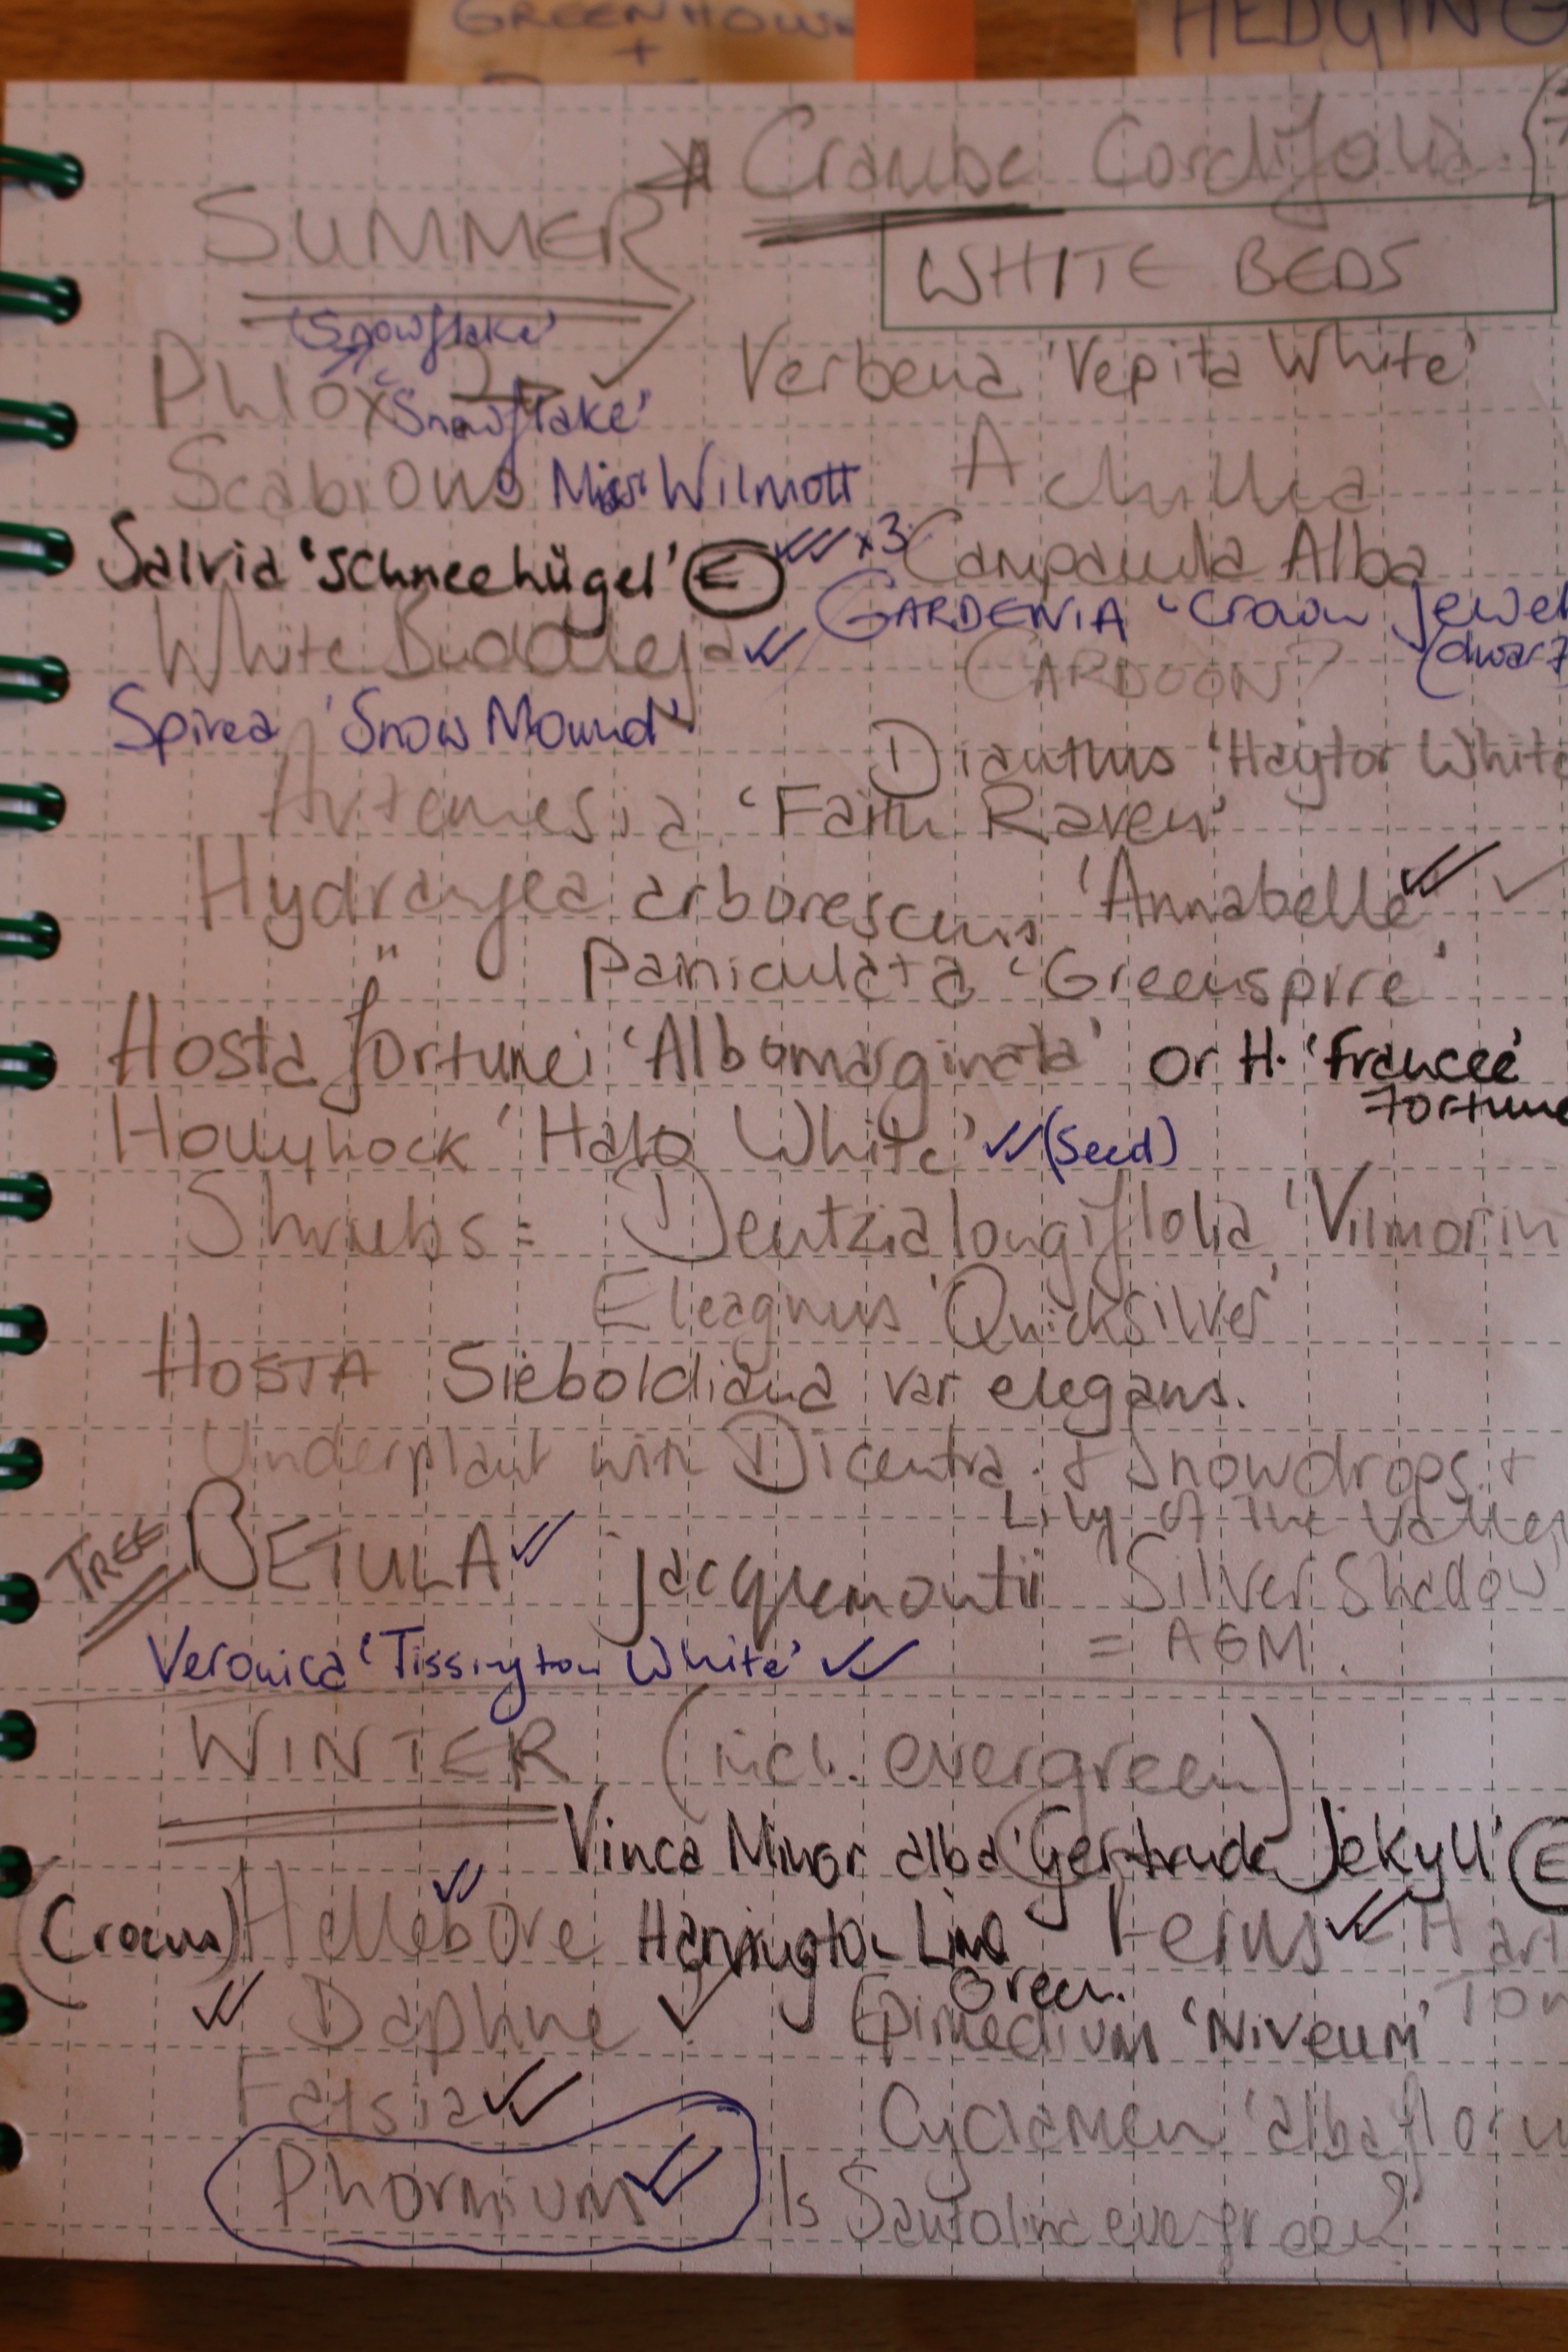
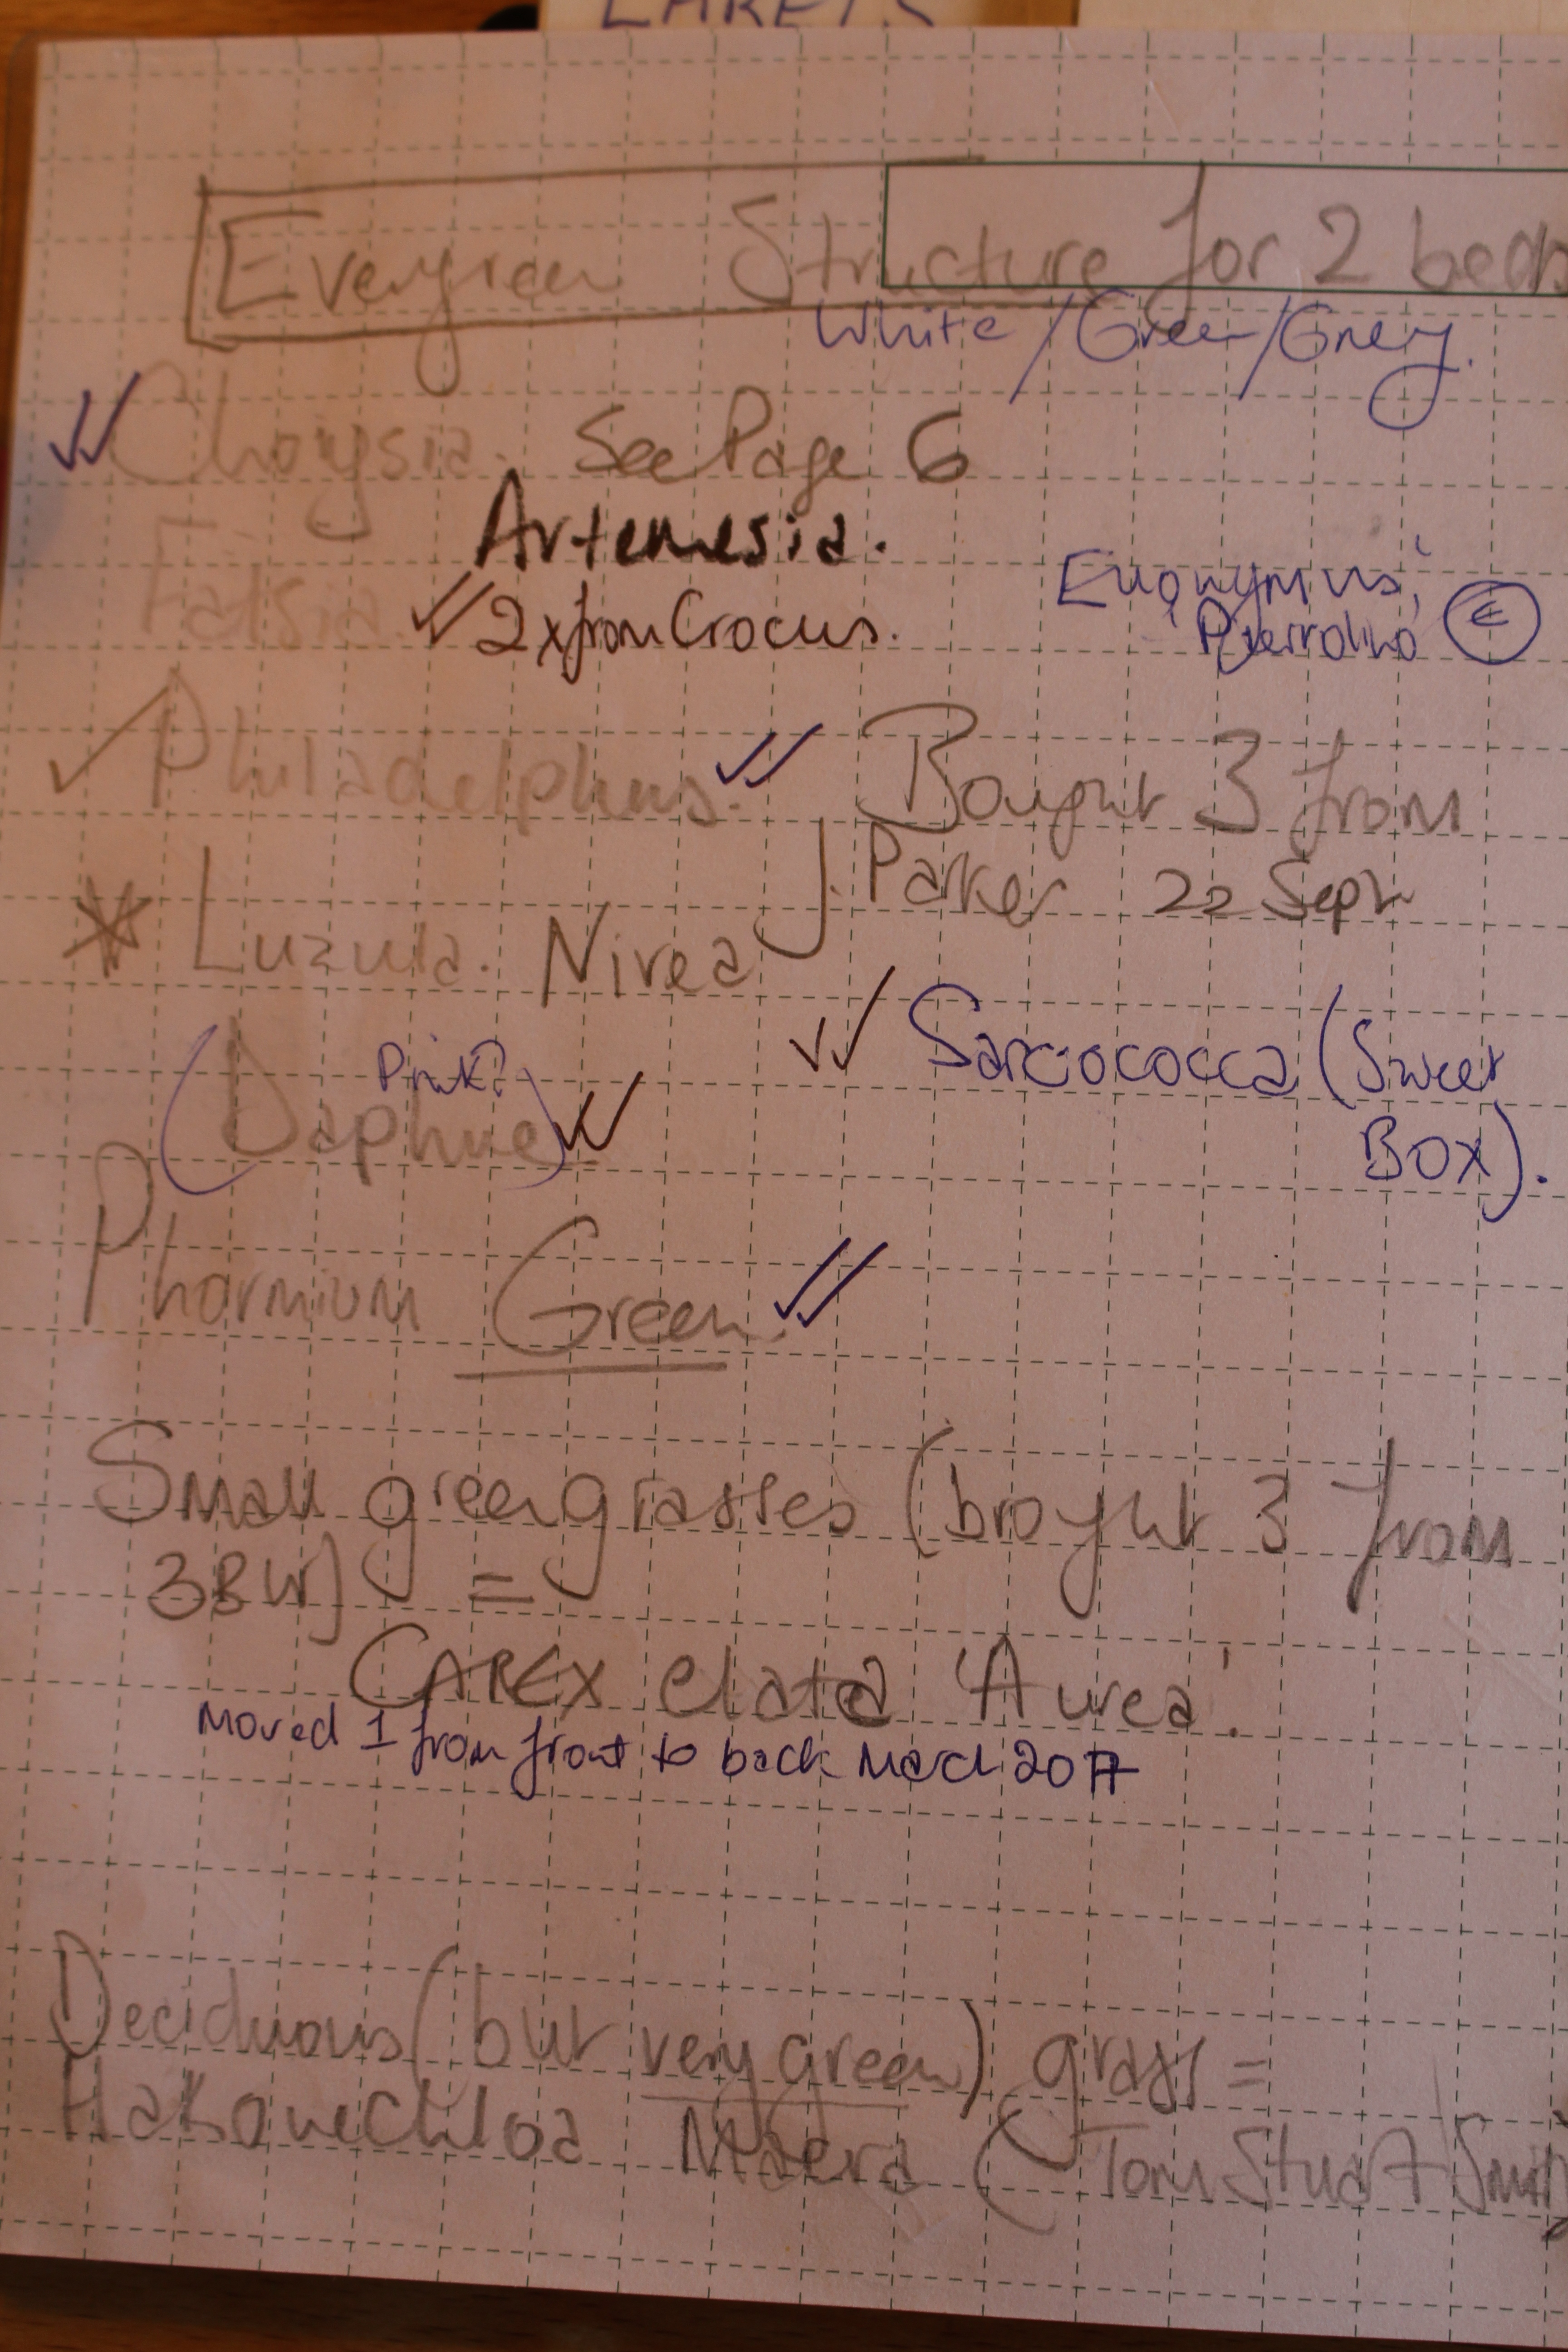
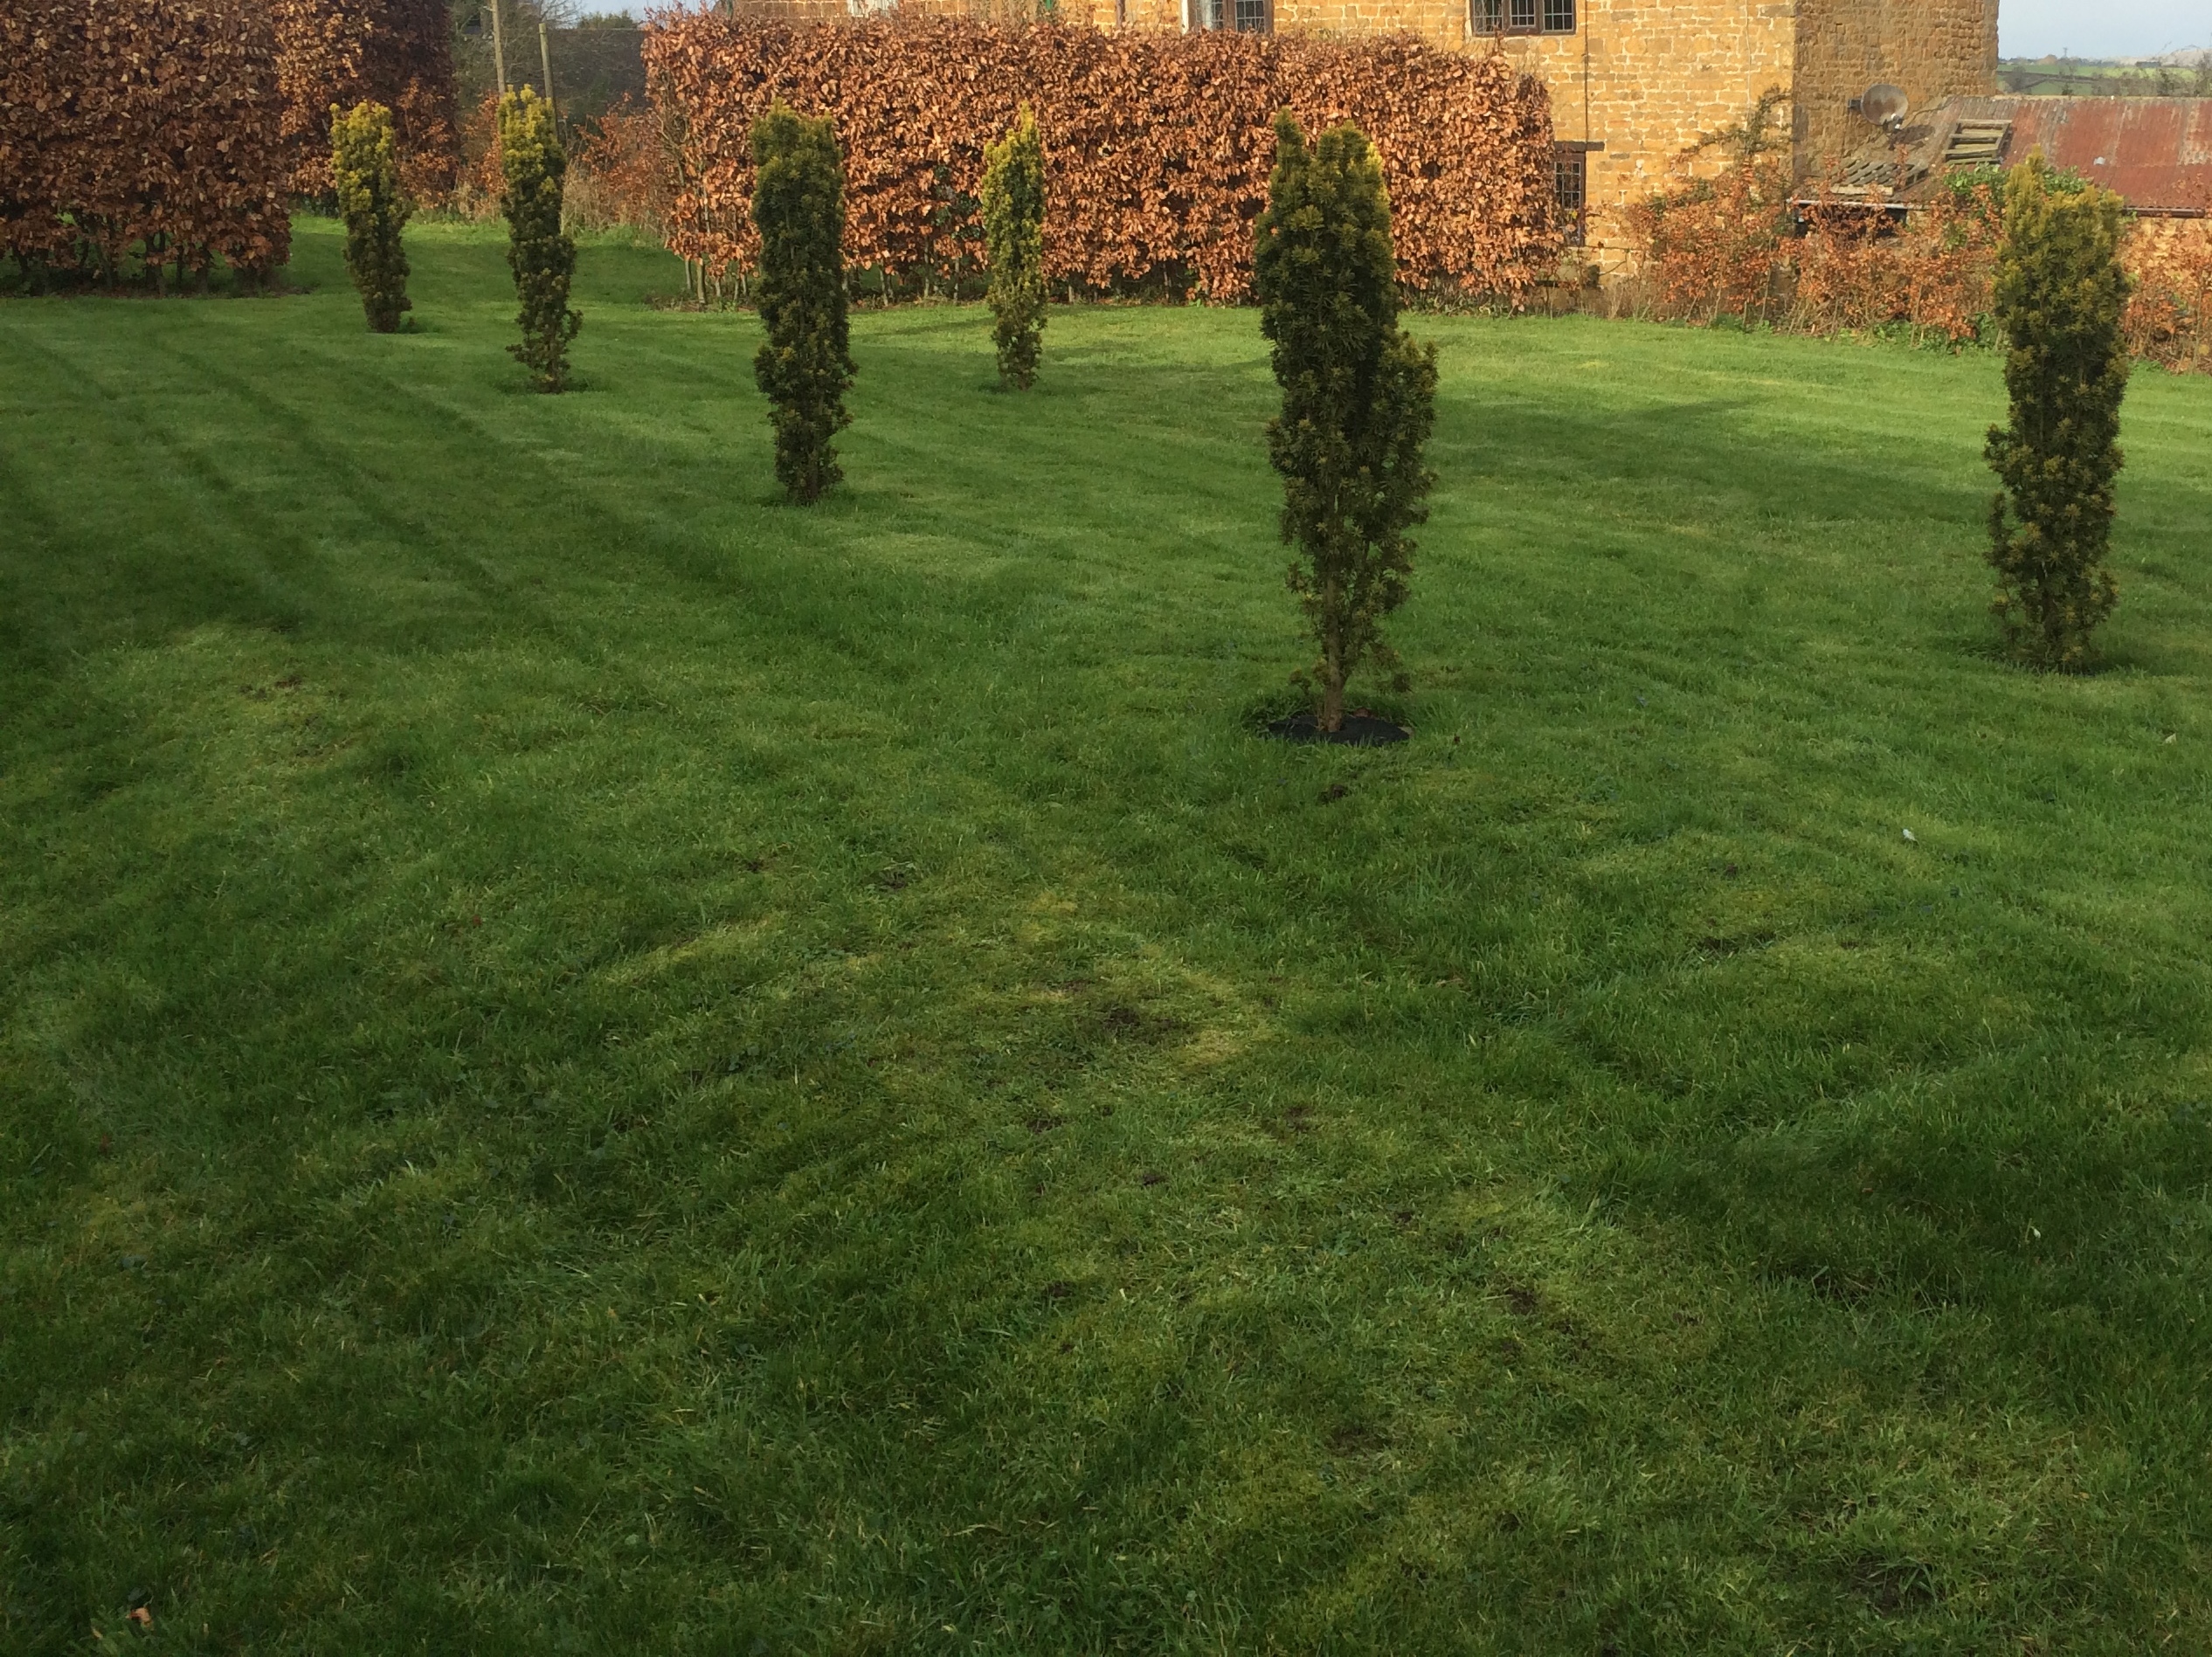
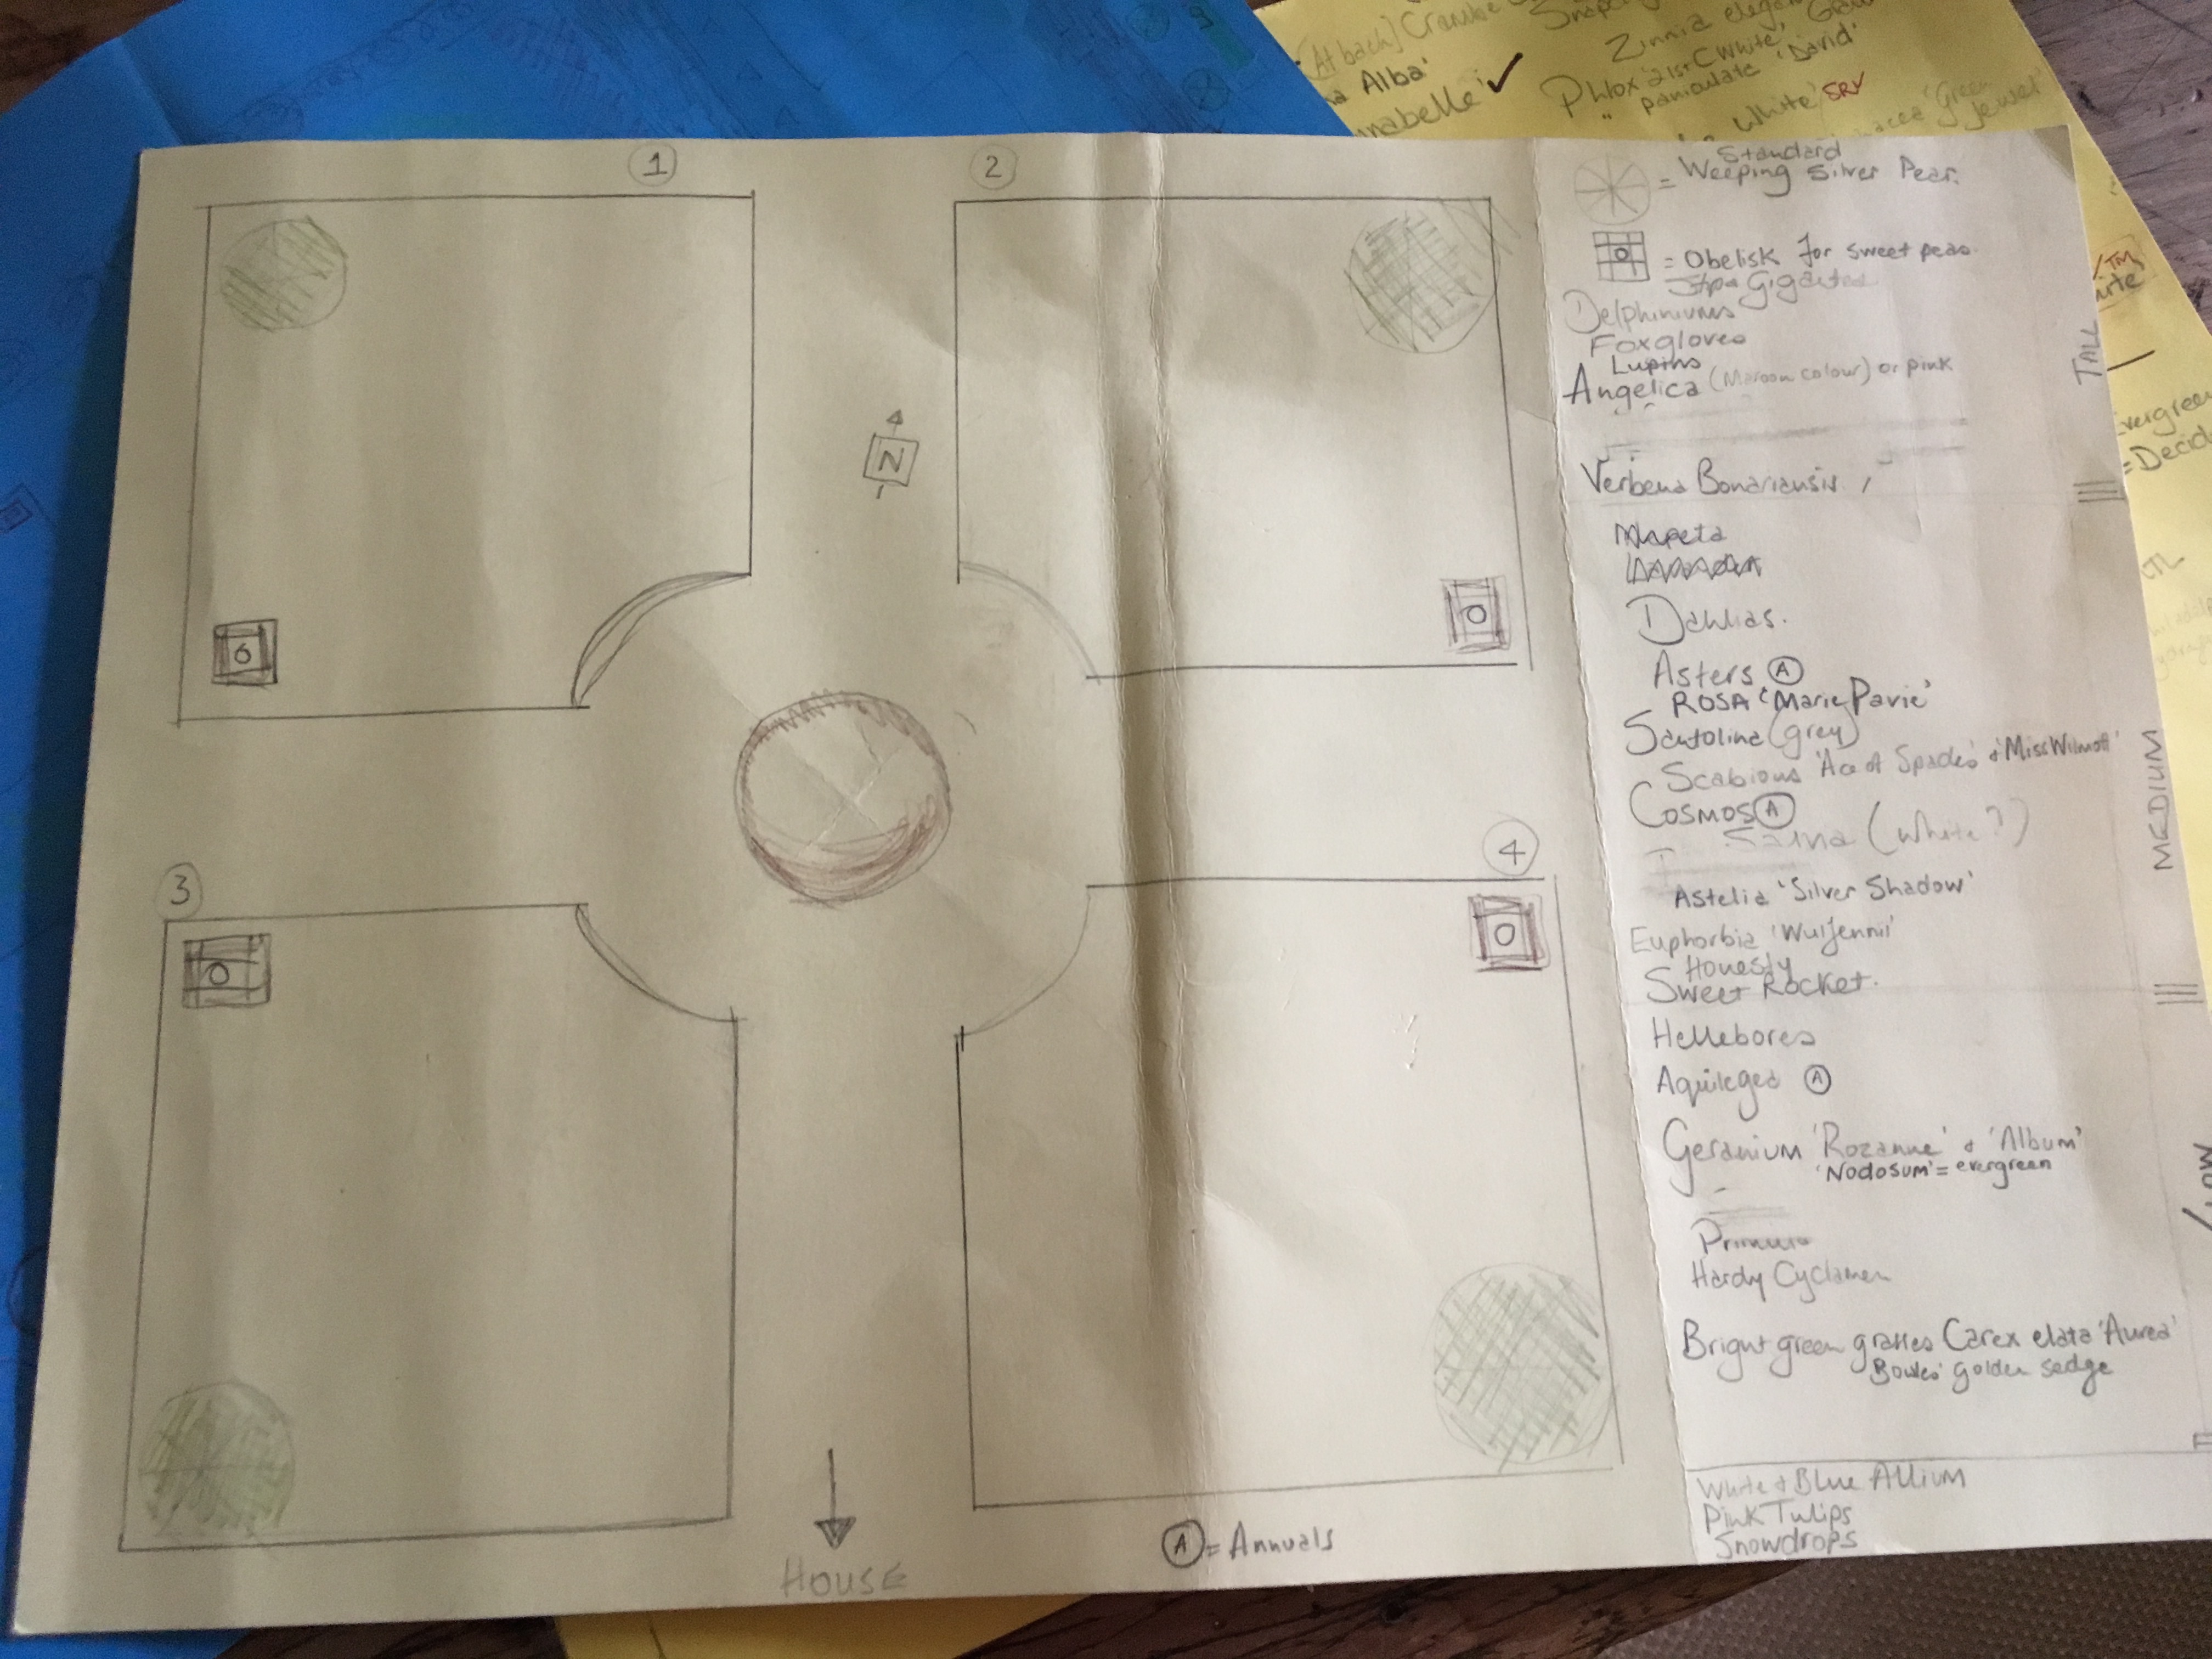
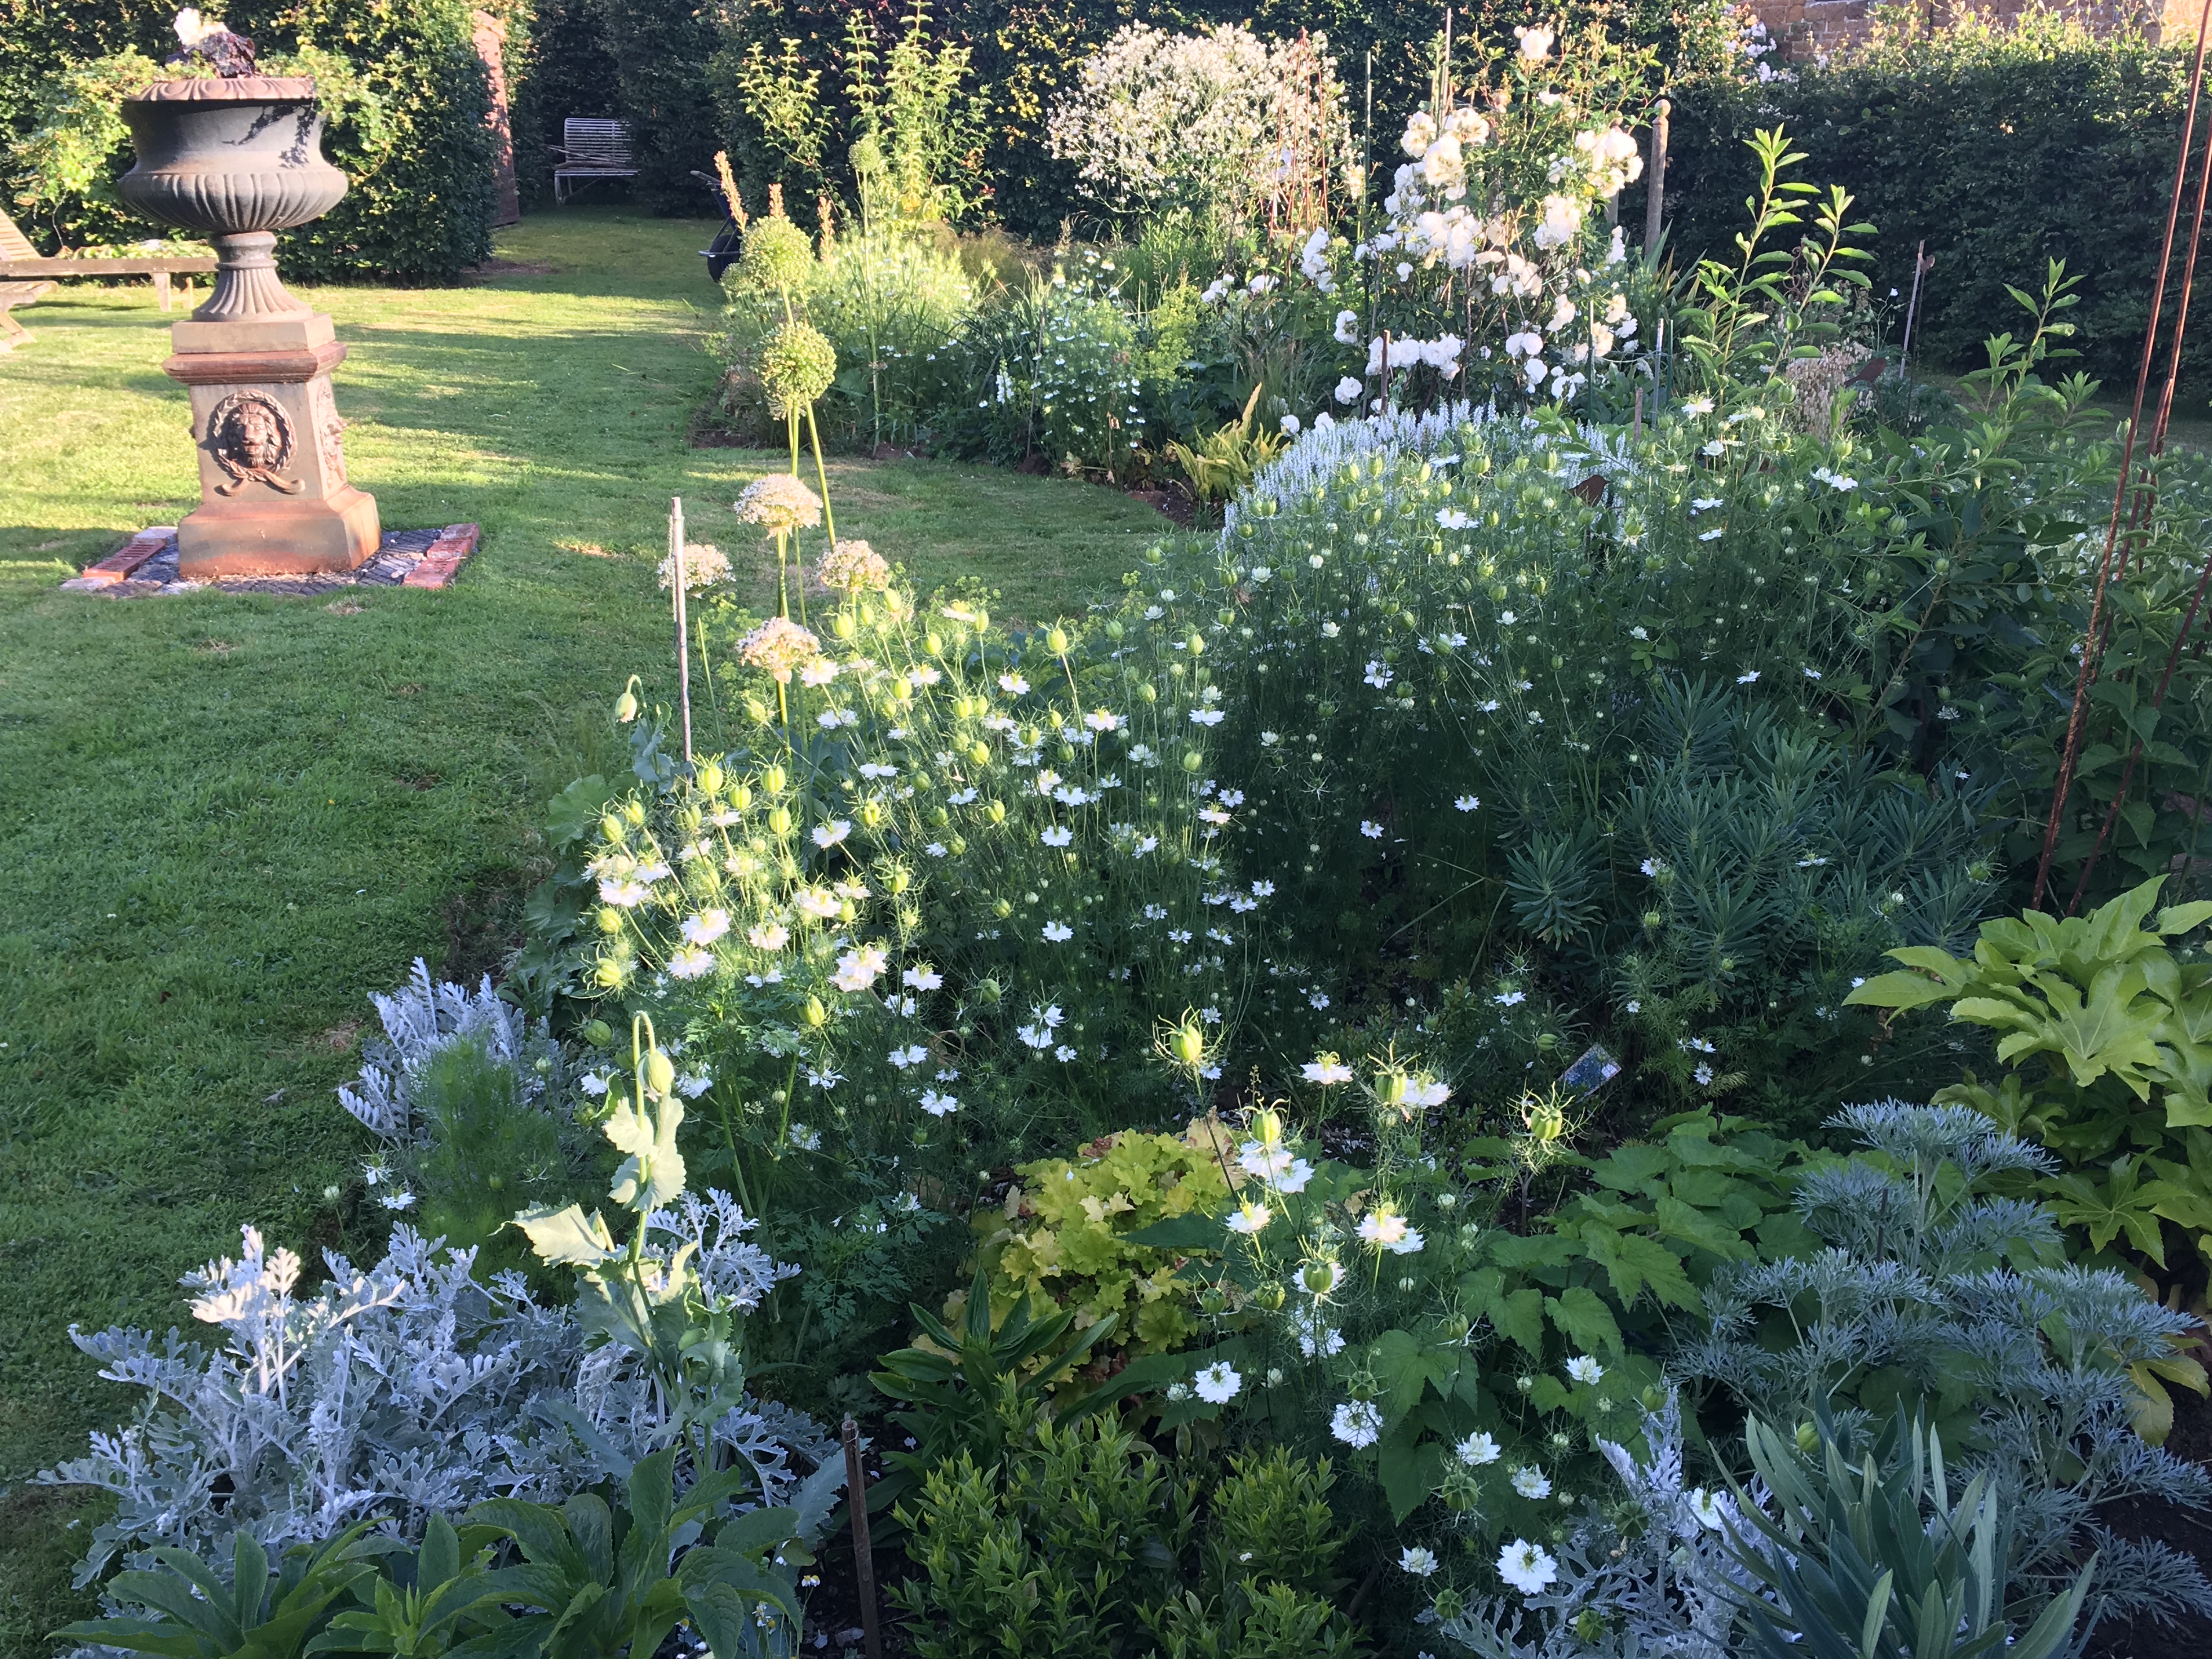
The White, Green and Grey Garden is looking as if it has been in place for many years, but in fact is only 20 months old. I couldn’t be happier with it, although it is an ever-changing thing which can always be tinkered with and improved. I cast a beady eye over it most days, planning and scheming and am never 100% happy with what I see…. not least if a rogue has self-seeded which is not in the prescribed colour scheme.

One unsolicited, uninvited pink poppy…..

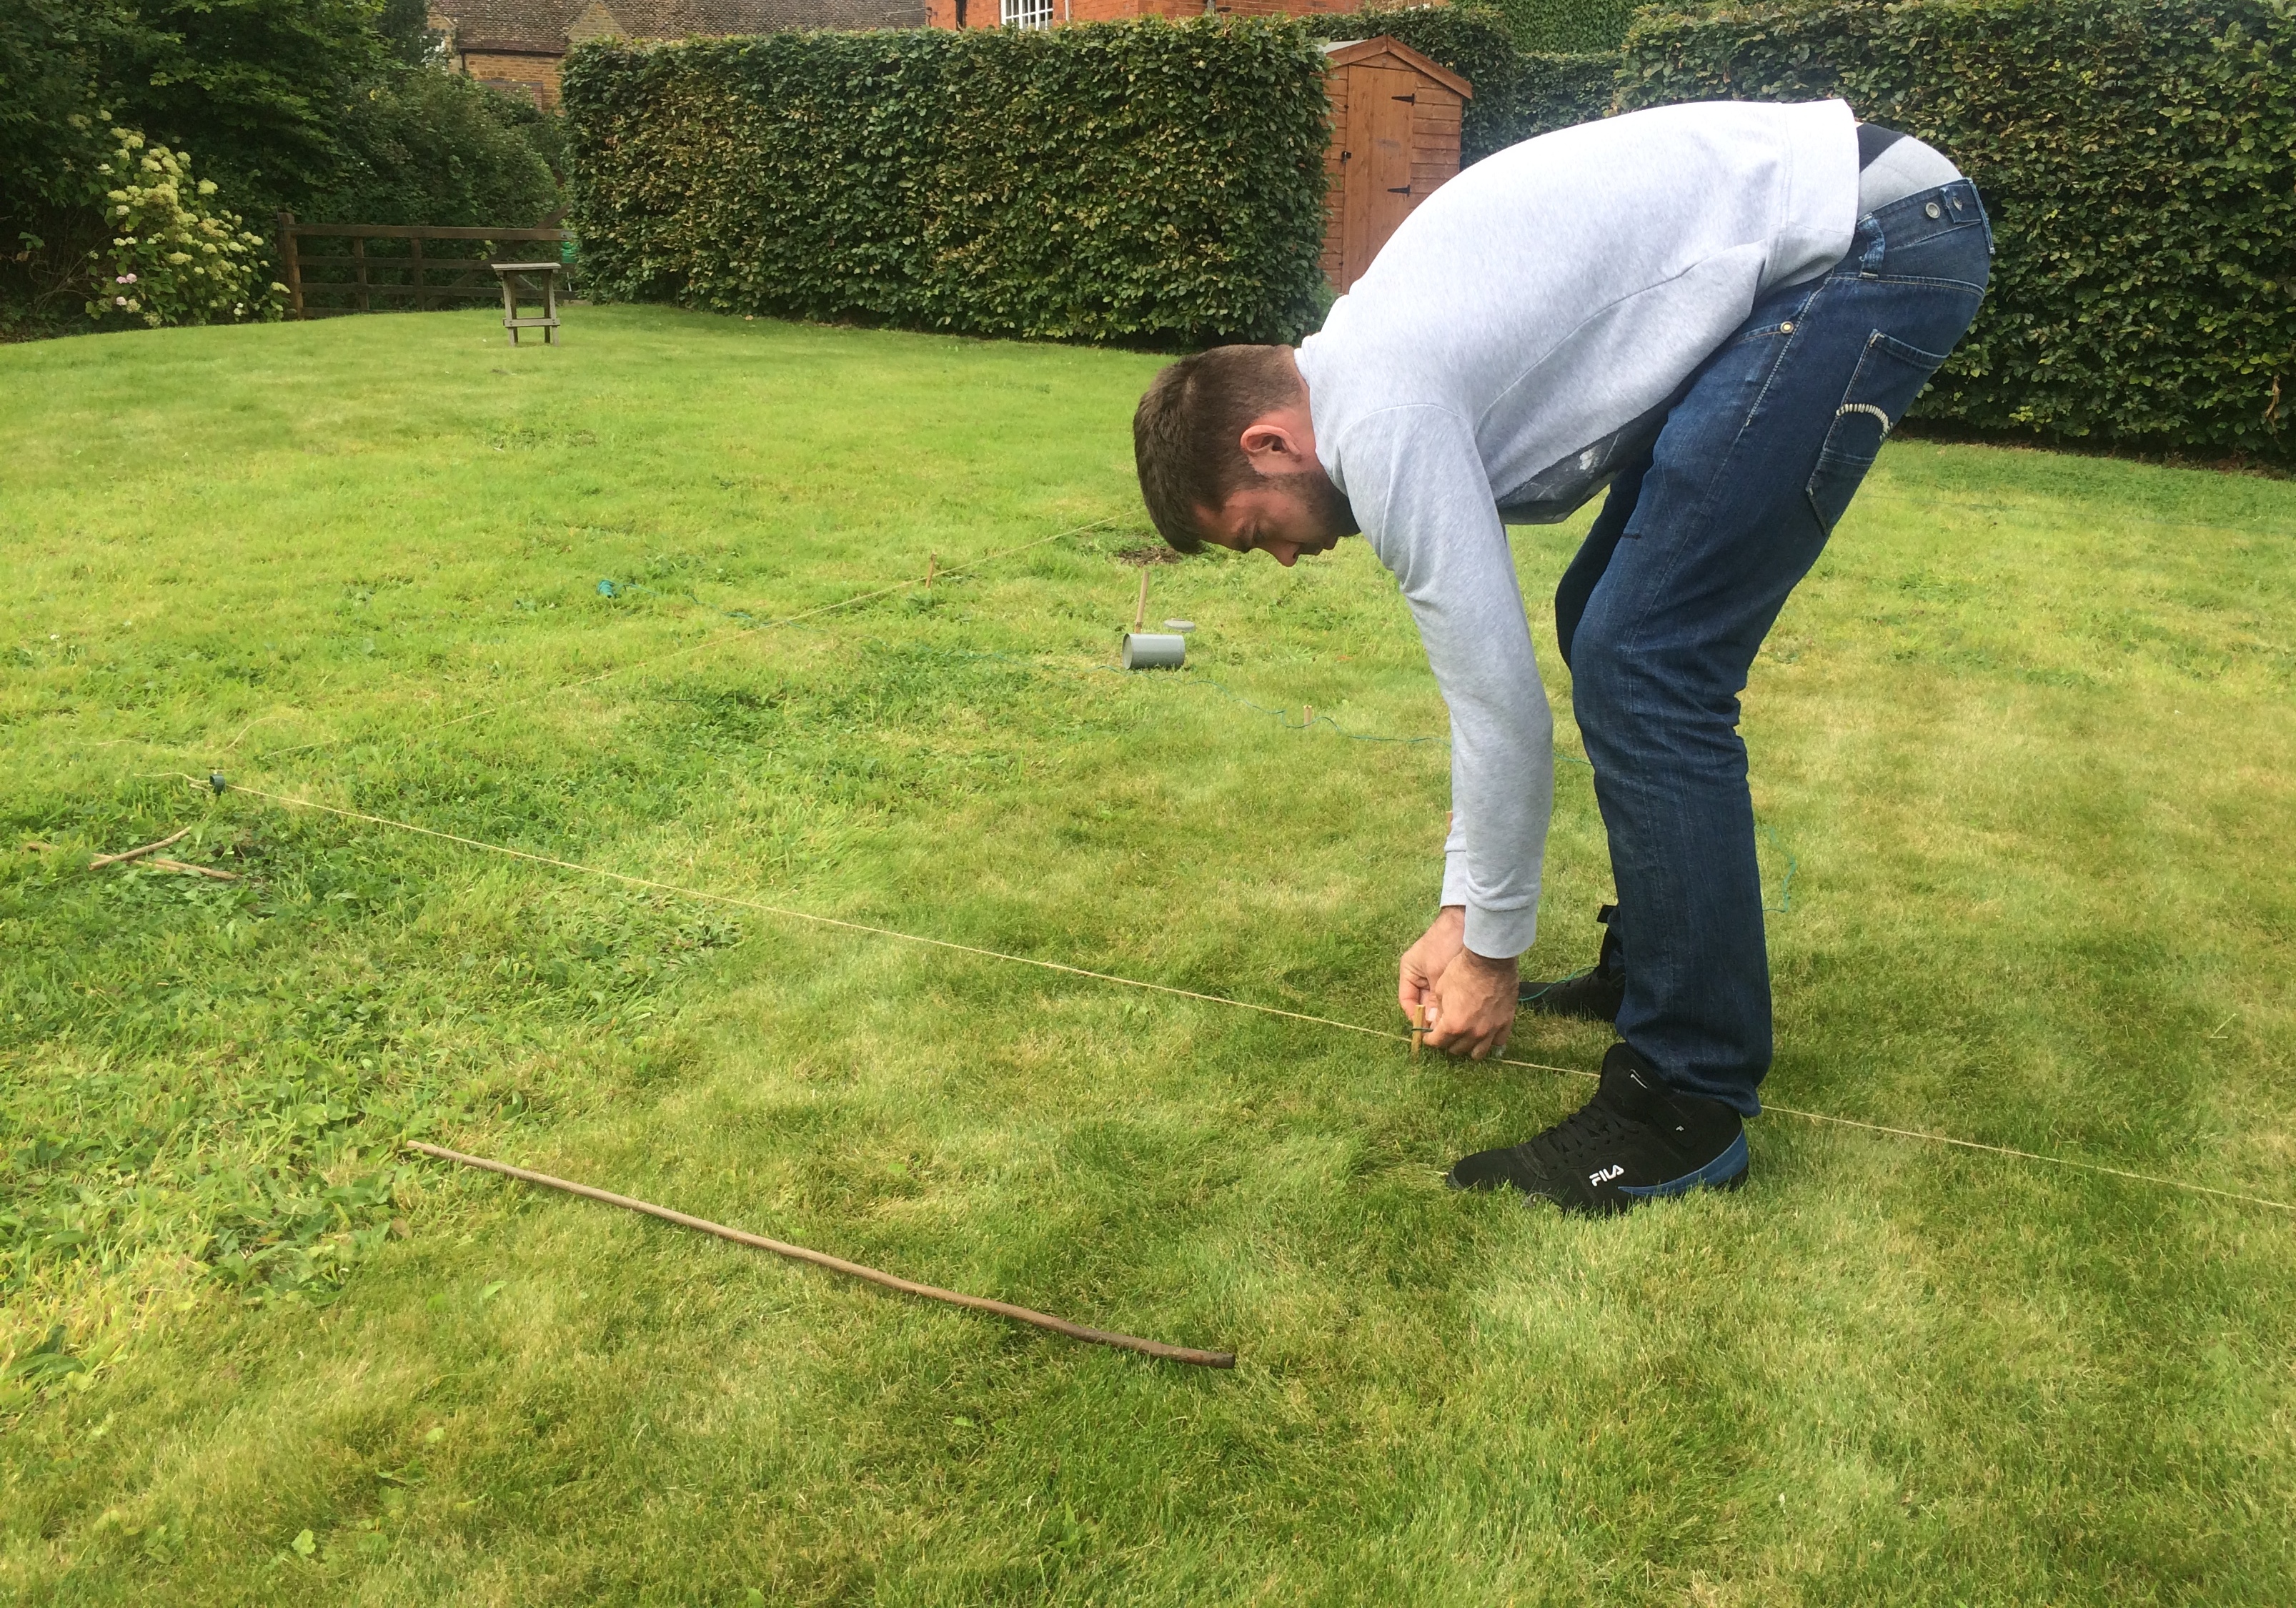
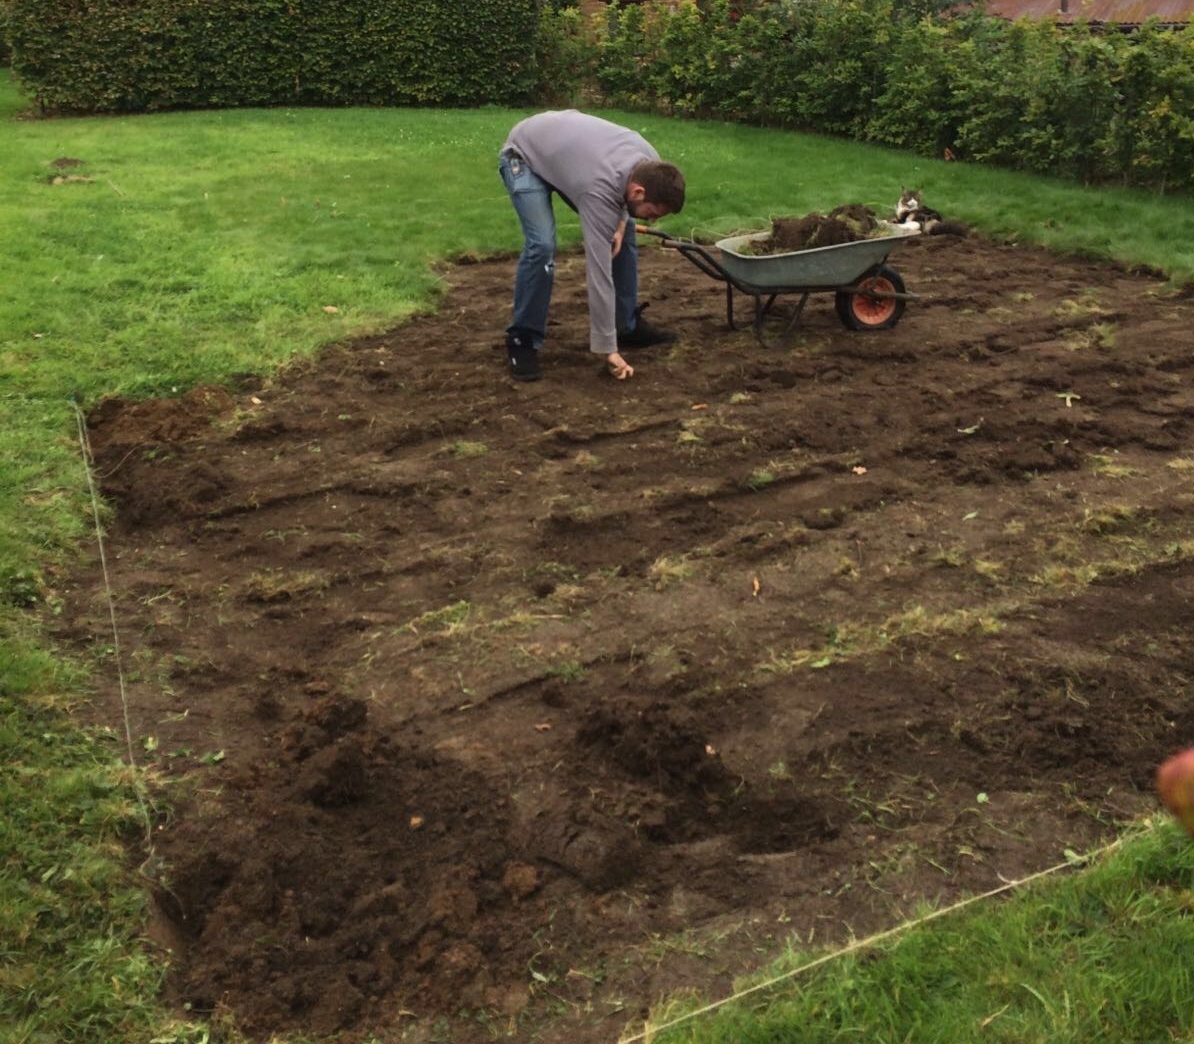
Last month I decided to take a look at my turf stack, which we made from all the grass we had to remove in order to make both beds. A turf stack is supposed to be laid grass-facing-grass in a stack of neat sandwiches. As you can see from the picture below, on the weekend we did the turf-removal, we were so shattered after using the machine to take it all up it I was happy to have it in any kind of system at all, so it was pretty much slung together willy-nilly in a straight-ish line.

Despite that, it has been gently rotting down for the 20 months under plastic and black weed control fabric. I have looked at it a couple of times over that period, but didn’t feel it was well-rotted enough to risk putting back onto the garden; the thought of reintroducing creeping buttercup and other nasties back into the garden made me very cautious indeed so I had to call on some often elusive patience…. This time though (mid-June 2018), despite it being rather dry under there (no doubt I should have soaked it prior to putting it under its duvet) it looked very promising.

Turf stack

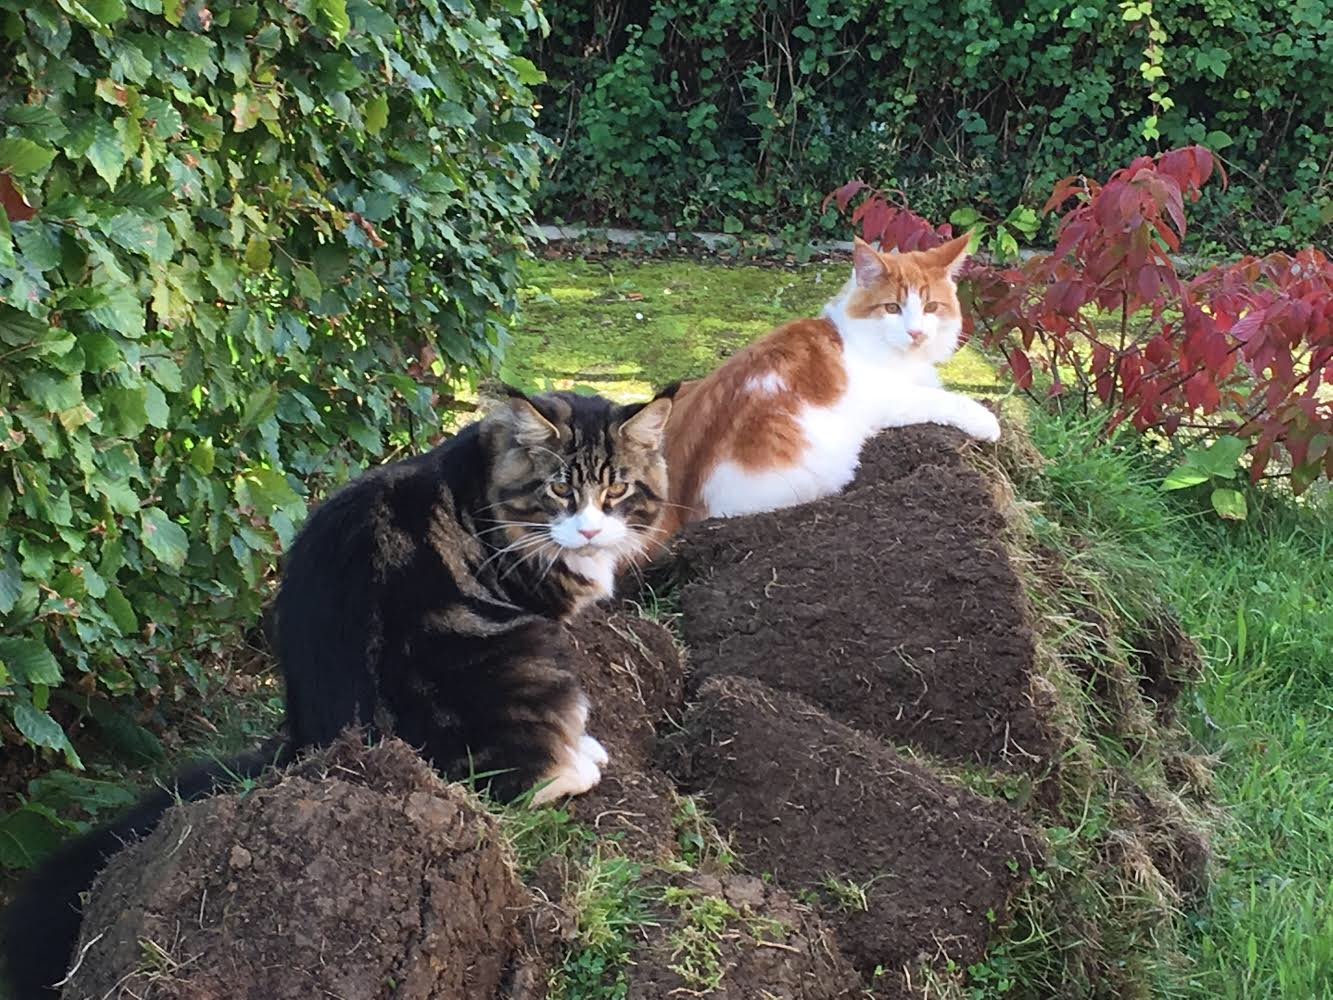
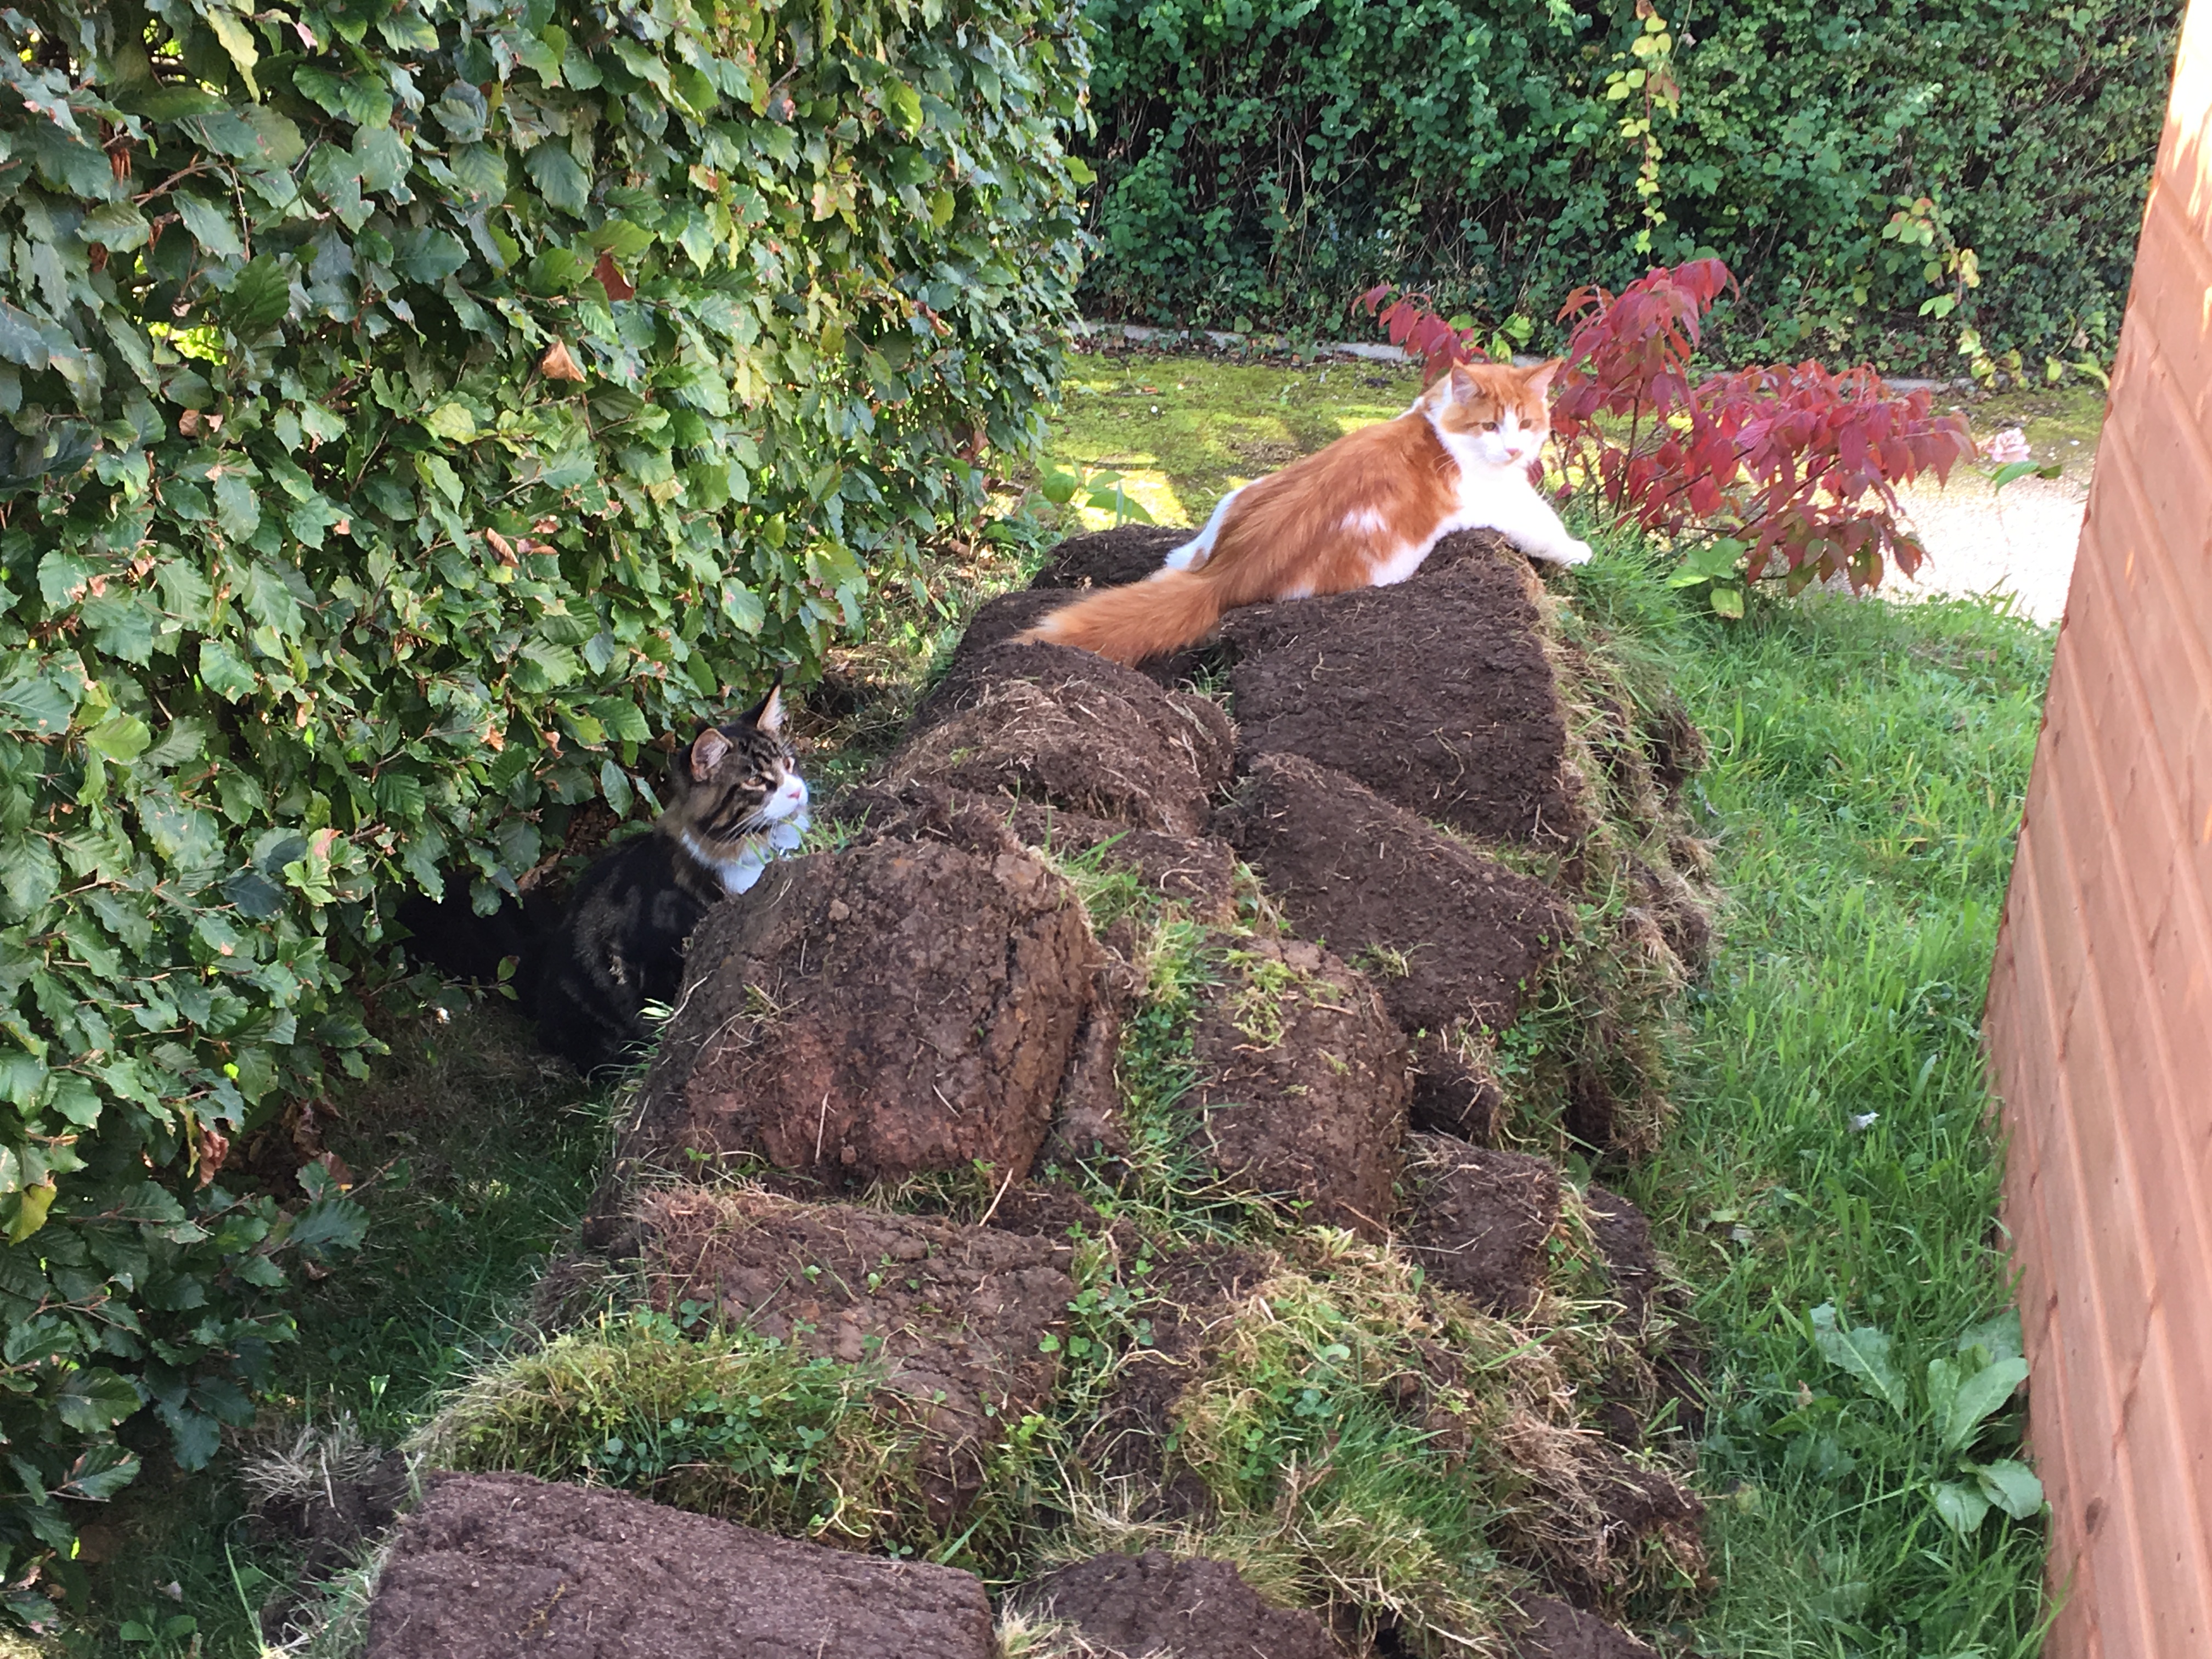
Our kittens, Huck and Hero, guarding the turf stack,  Autumn 2016

Luckily for me my nephew was staying for a few days; he plays rugby for Wales, so quite literally can’t be any fitter or stronger and was happy to lend a helping hand, so we unwrapped the entire stack to see what we were dealing with. I was slightly nervous of vermin/snakes etc, but other than a huge number of ants (which had built some impressive nests, but equally had helped to break the turves down), quite a few worms (there no doubt would have been more if it had been damper) plus 3 rather startled toads, there was nothing to worry about. The other bonus was that, due to the inclusion of some very woody roots (that area of the garden had, some decades ago, been home to an orchard, where I am told the local village children would sometimes come and play), there were also a few very impressive pockets of mycorrhizal fungi, which look like very thin white veins and are very good for soil health. I believe it aids plants in taking up beneficial nutrients. There is more info on it here.

Micorrhizal

Joe gallantly helped wheelbarrow the first third of the stack before he had to leave, but that got me started, and many hours later the entire stack had been redistributed into the cutting garden, and back onto the two borders, from whence it came. There were probably between 25 and 30 wheelbarrow-loads in total. Recycling at its best.

Turf stack removal

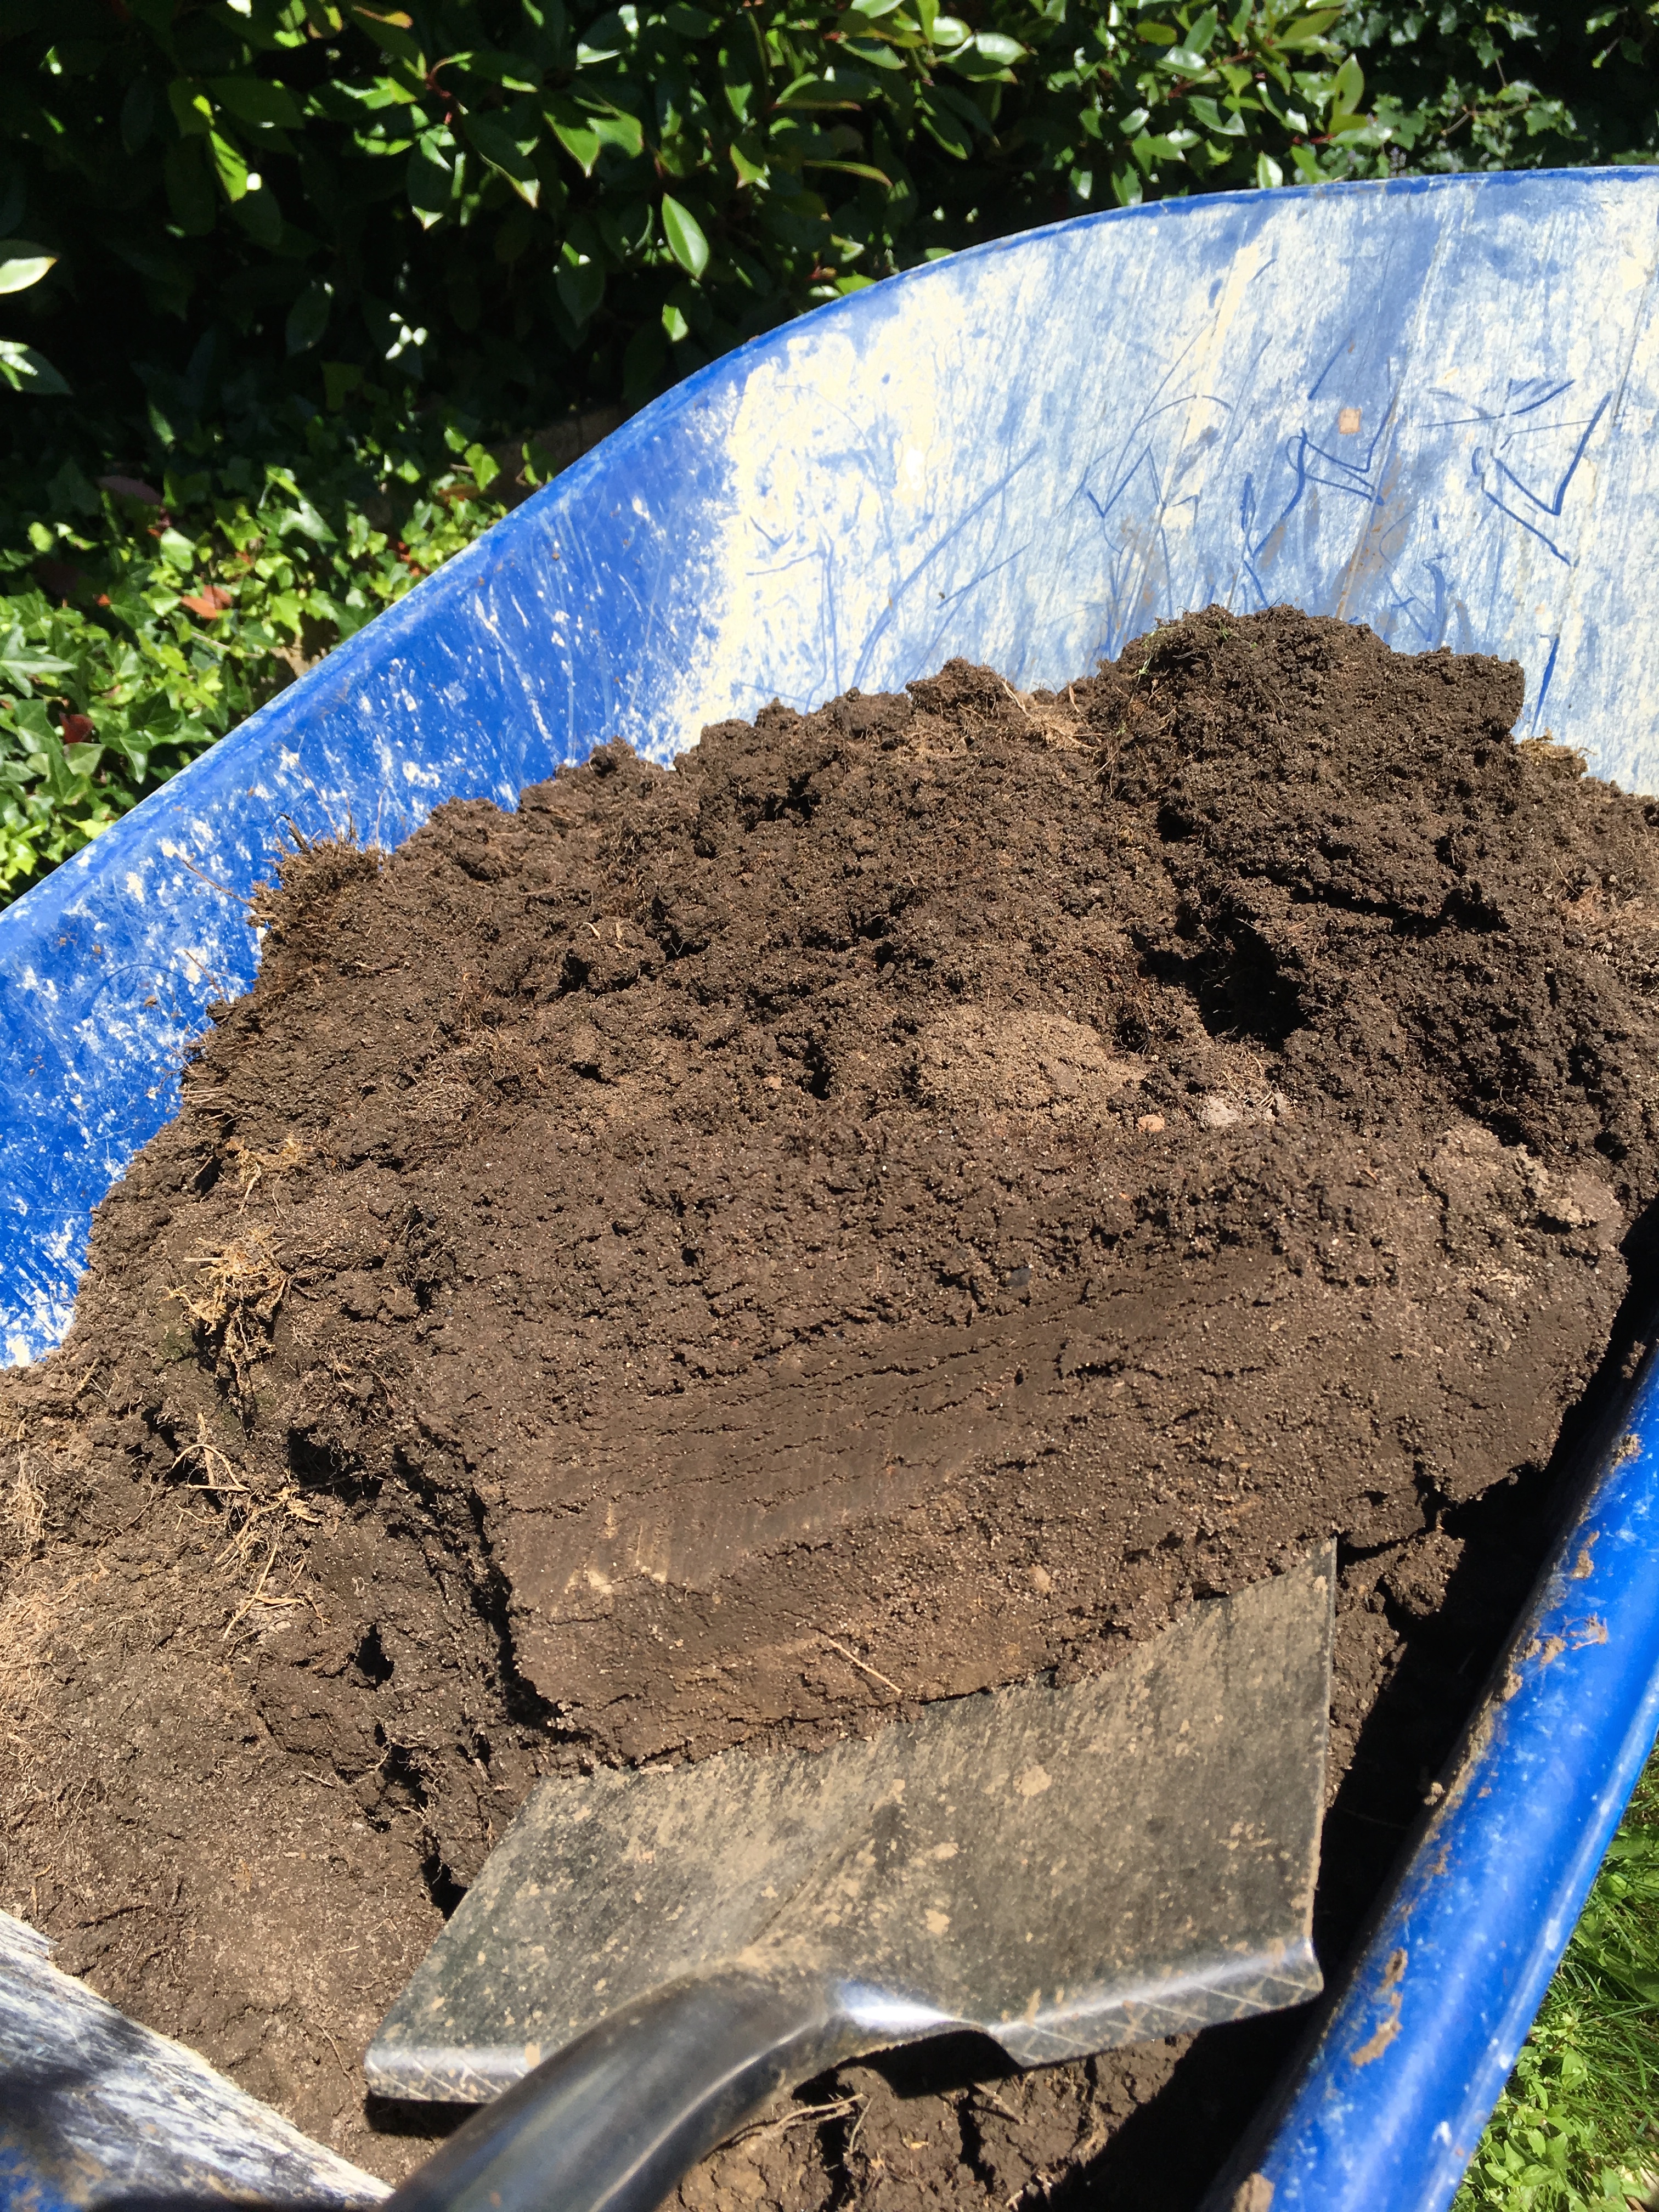
Some of it looked good enough to eat – rather like a luxurious chocolate cake.

Black gold. Compost. Loam from a turf stack

I could practically hear the garden singing as I laid it on in a very thick mulch. The birds absolutely loved chucking it everywhere and eating the ants and fat ant eggs, and I felt like a bountiful patron. Amazingly when I originally drew up the plans for the White, Green and Grey Garden, I had thought seriously about putting all the turf in a skip. Thank goodness I came to my senses.

When turves break down, you end up with loam, which is essentially a perfect mixture of clay, sand and silt:

loam
ləʊm/
noun
a fertile soil of clay and sand containing humus.
GEOLOGY :a soil with roughly equal proportions of sand, silt, and clay.

A week or so later, the birds are still throwing it off the raised beds which make up the cutting garden, joyfully searching for any overlooked goodies. The toads have re-homed themselves somewhere, and the Dahlias, Cosmos, Sweet Peas, Asters and Dianthus in the cutting beds all look like they have had an injection of nourishment.

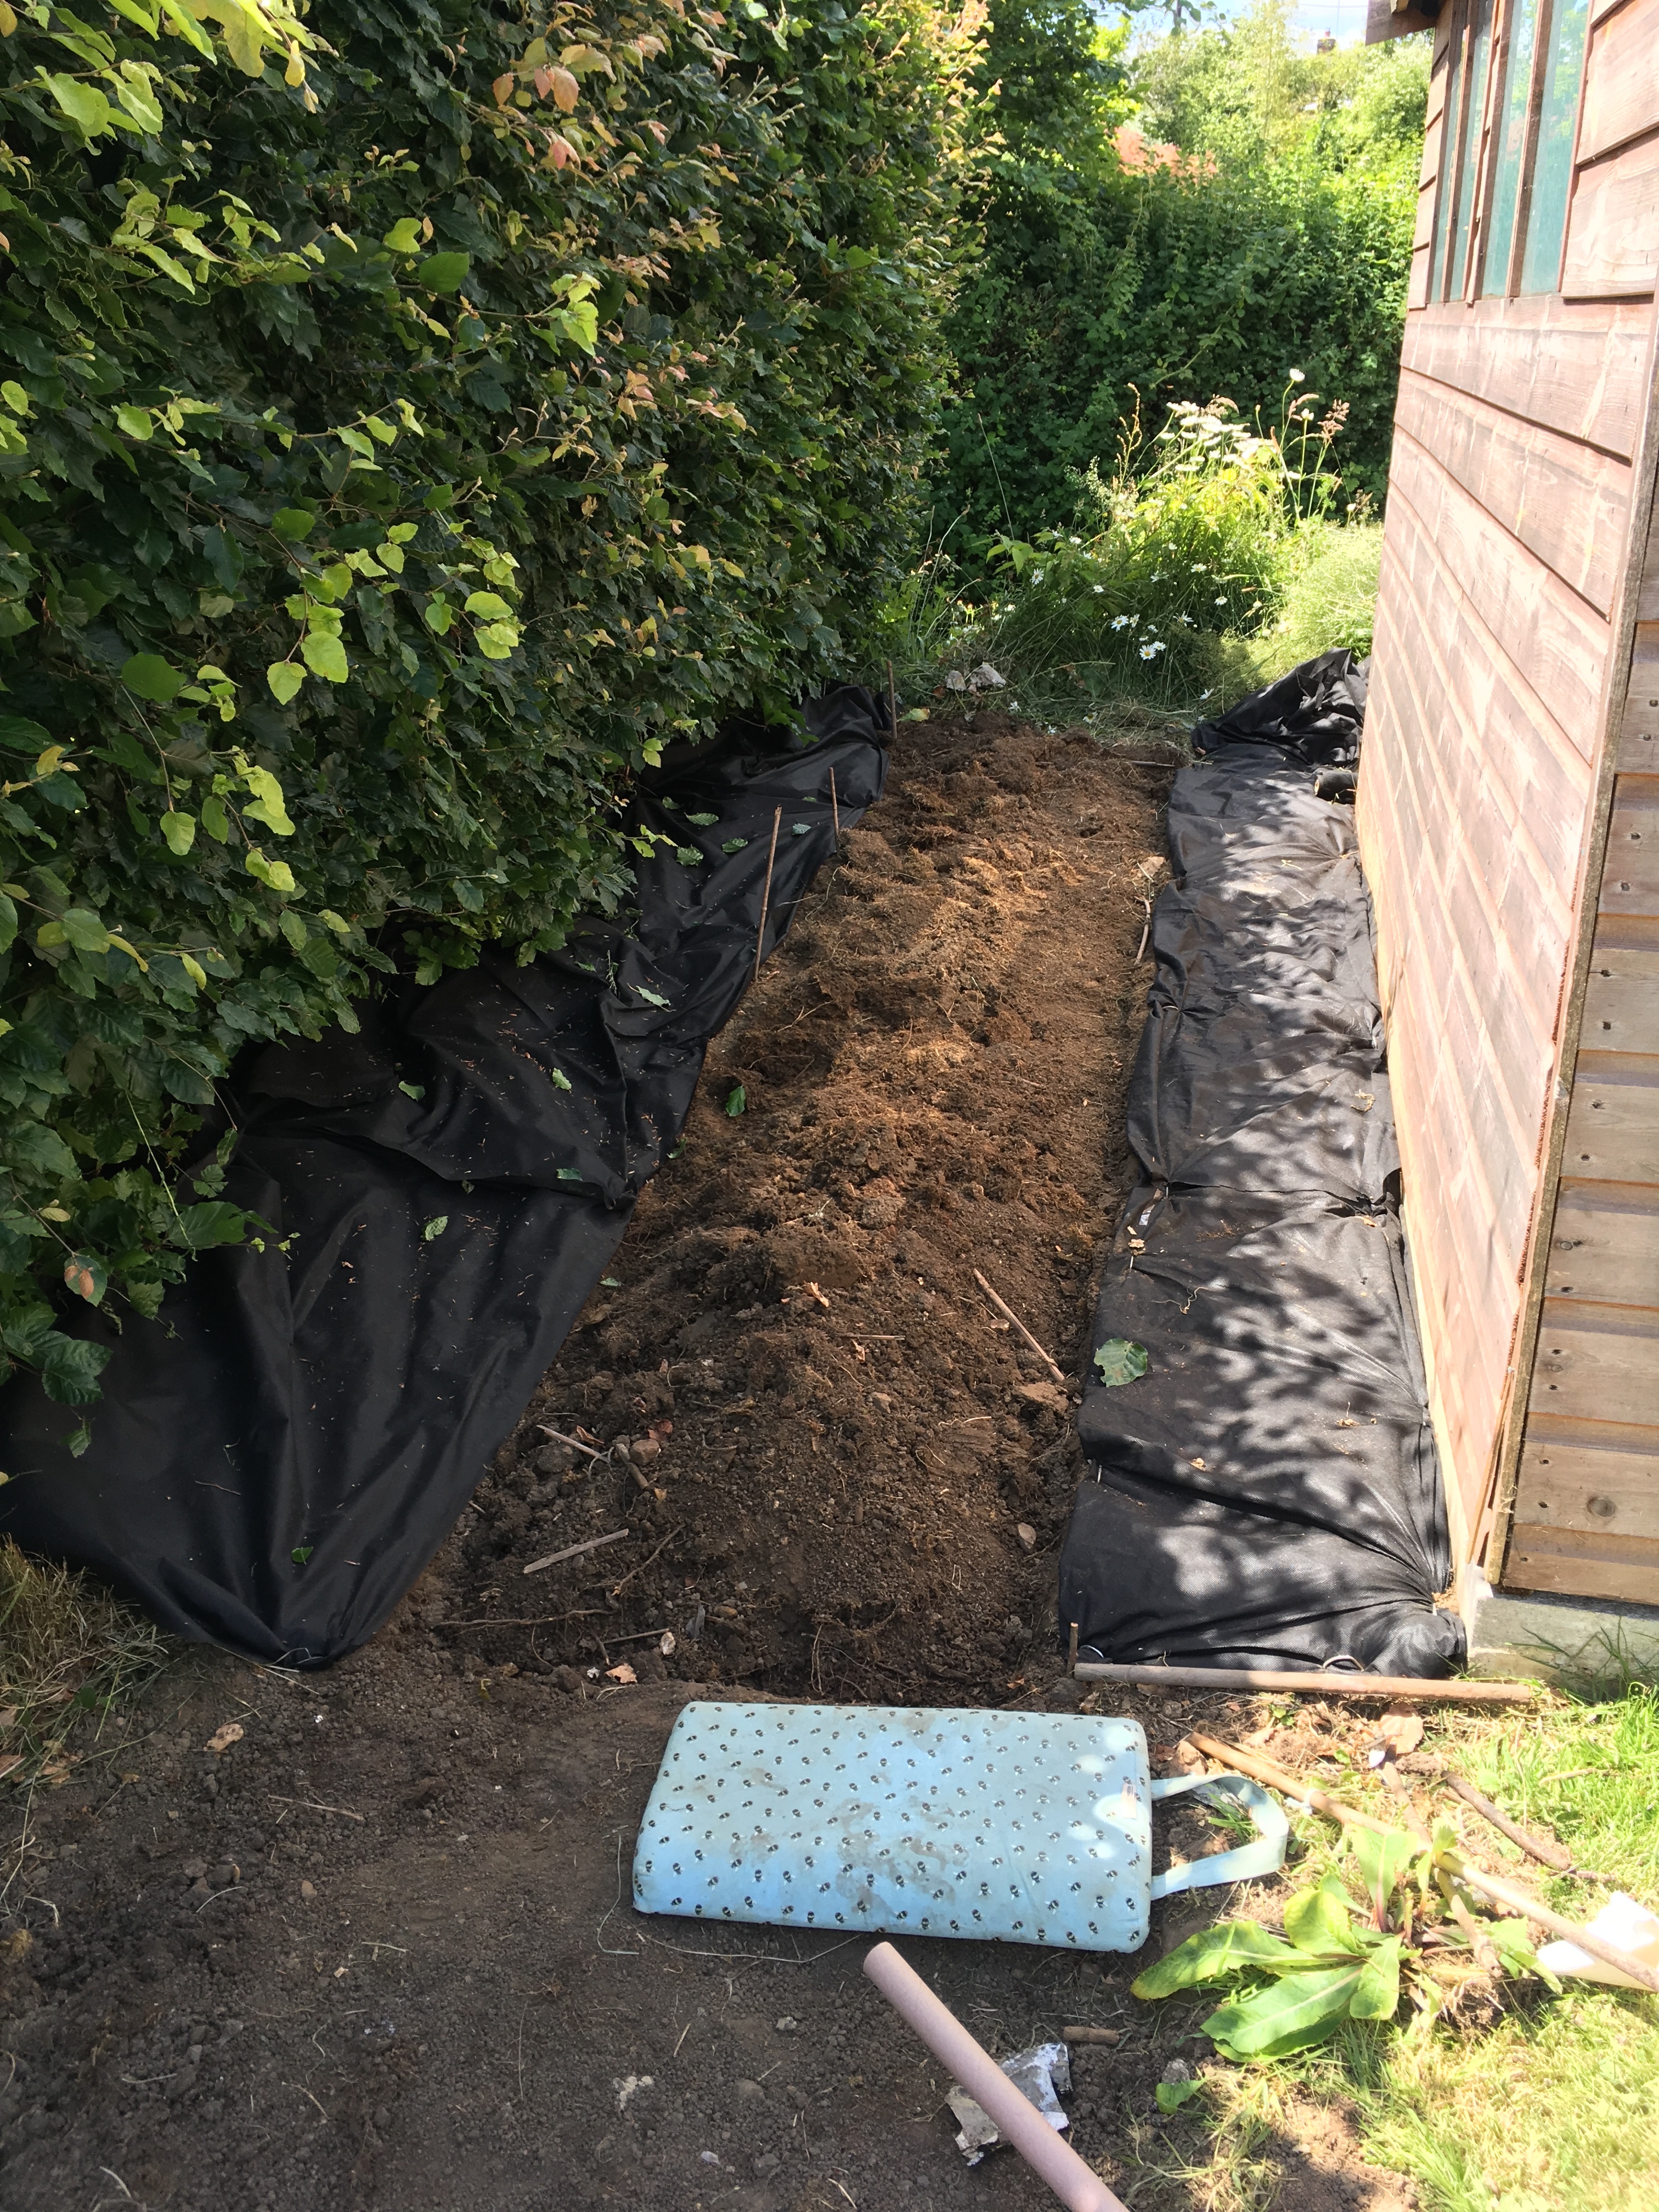
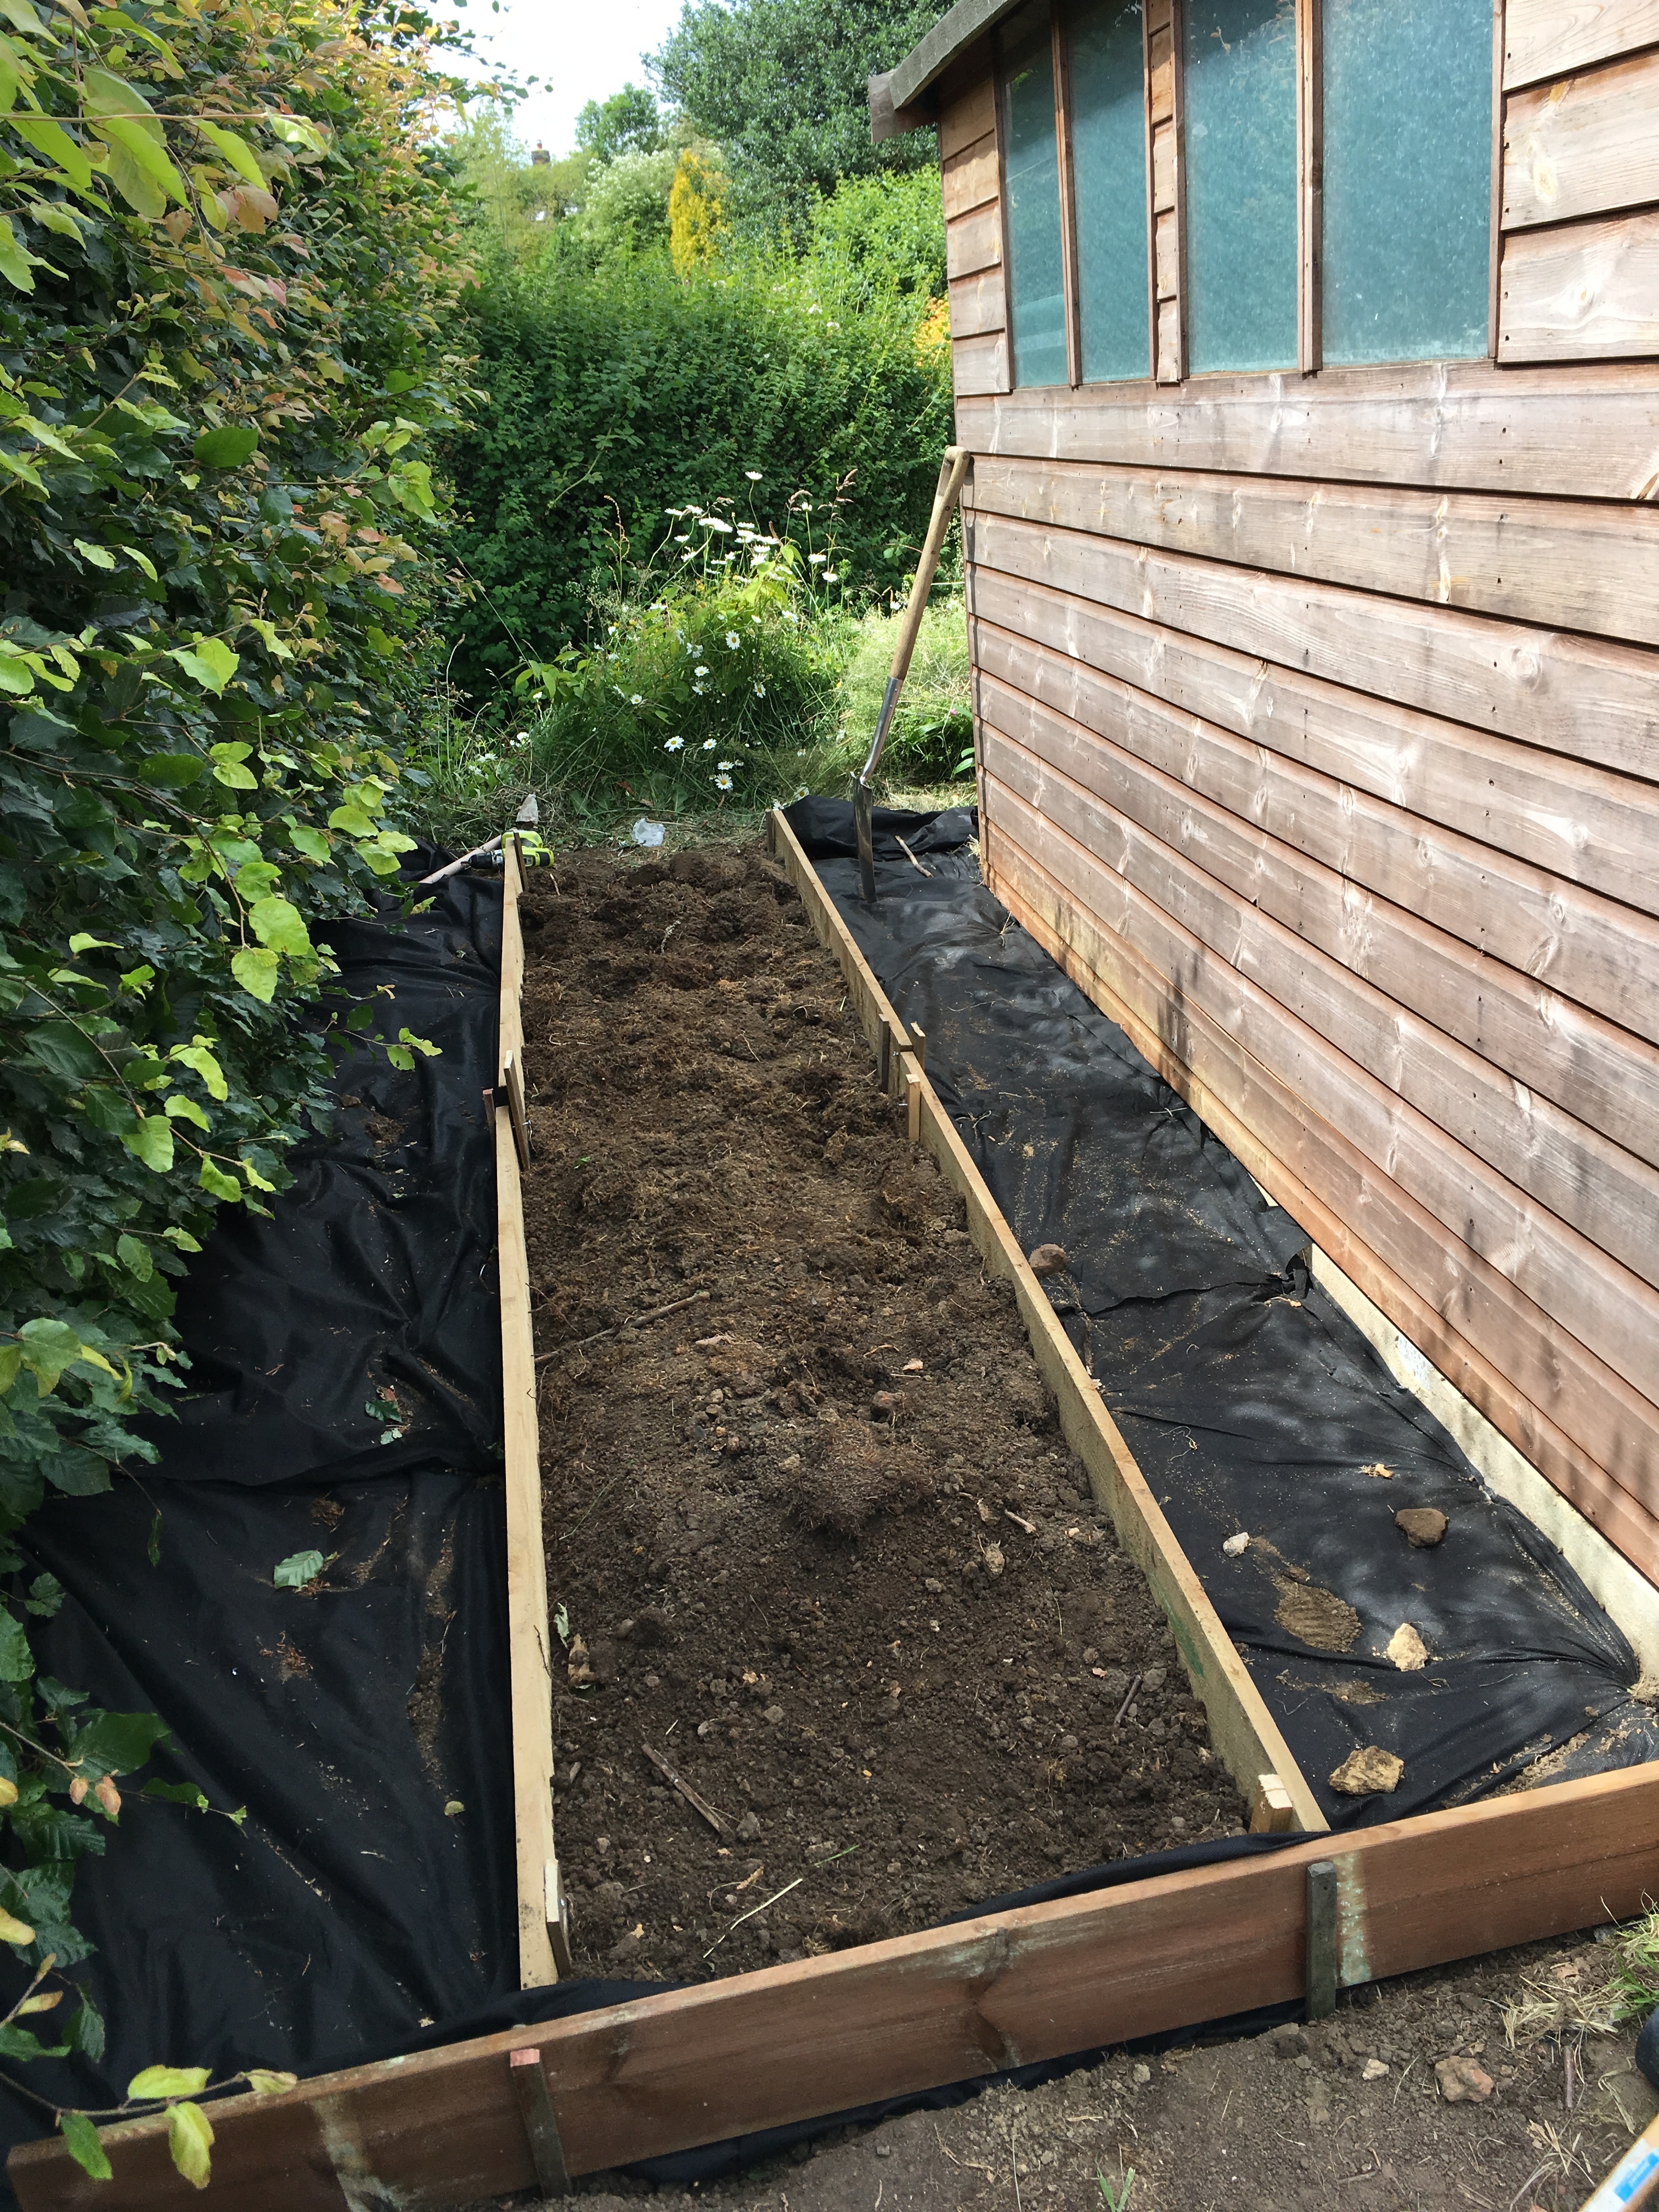
Where the stack had been, I was left with an area of unsightly bare soil. Why not use it to create a small bed for over-flow plants, experiments and sowing biennials?

bare soil after the turf stack was removed

I already had some weed membrane, so off I went to B&Q to buy the treated wood and the bark, and – while I was at it – black paint for the shed.

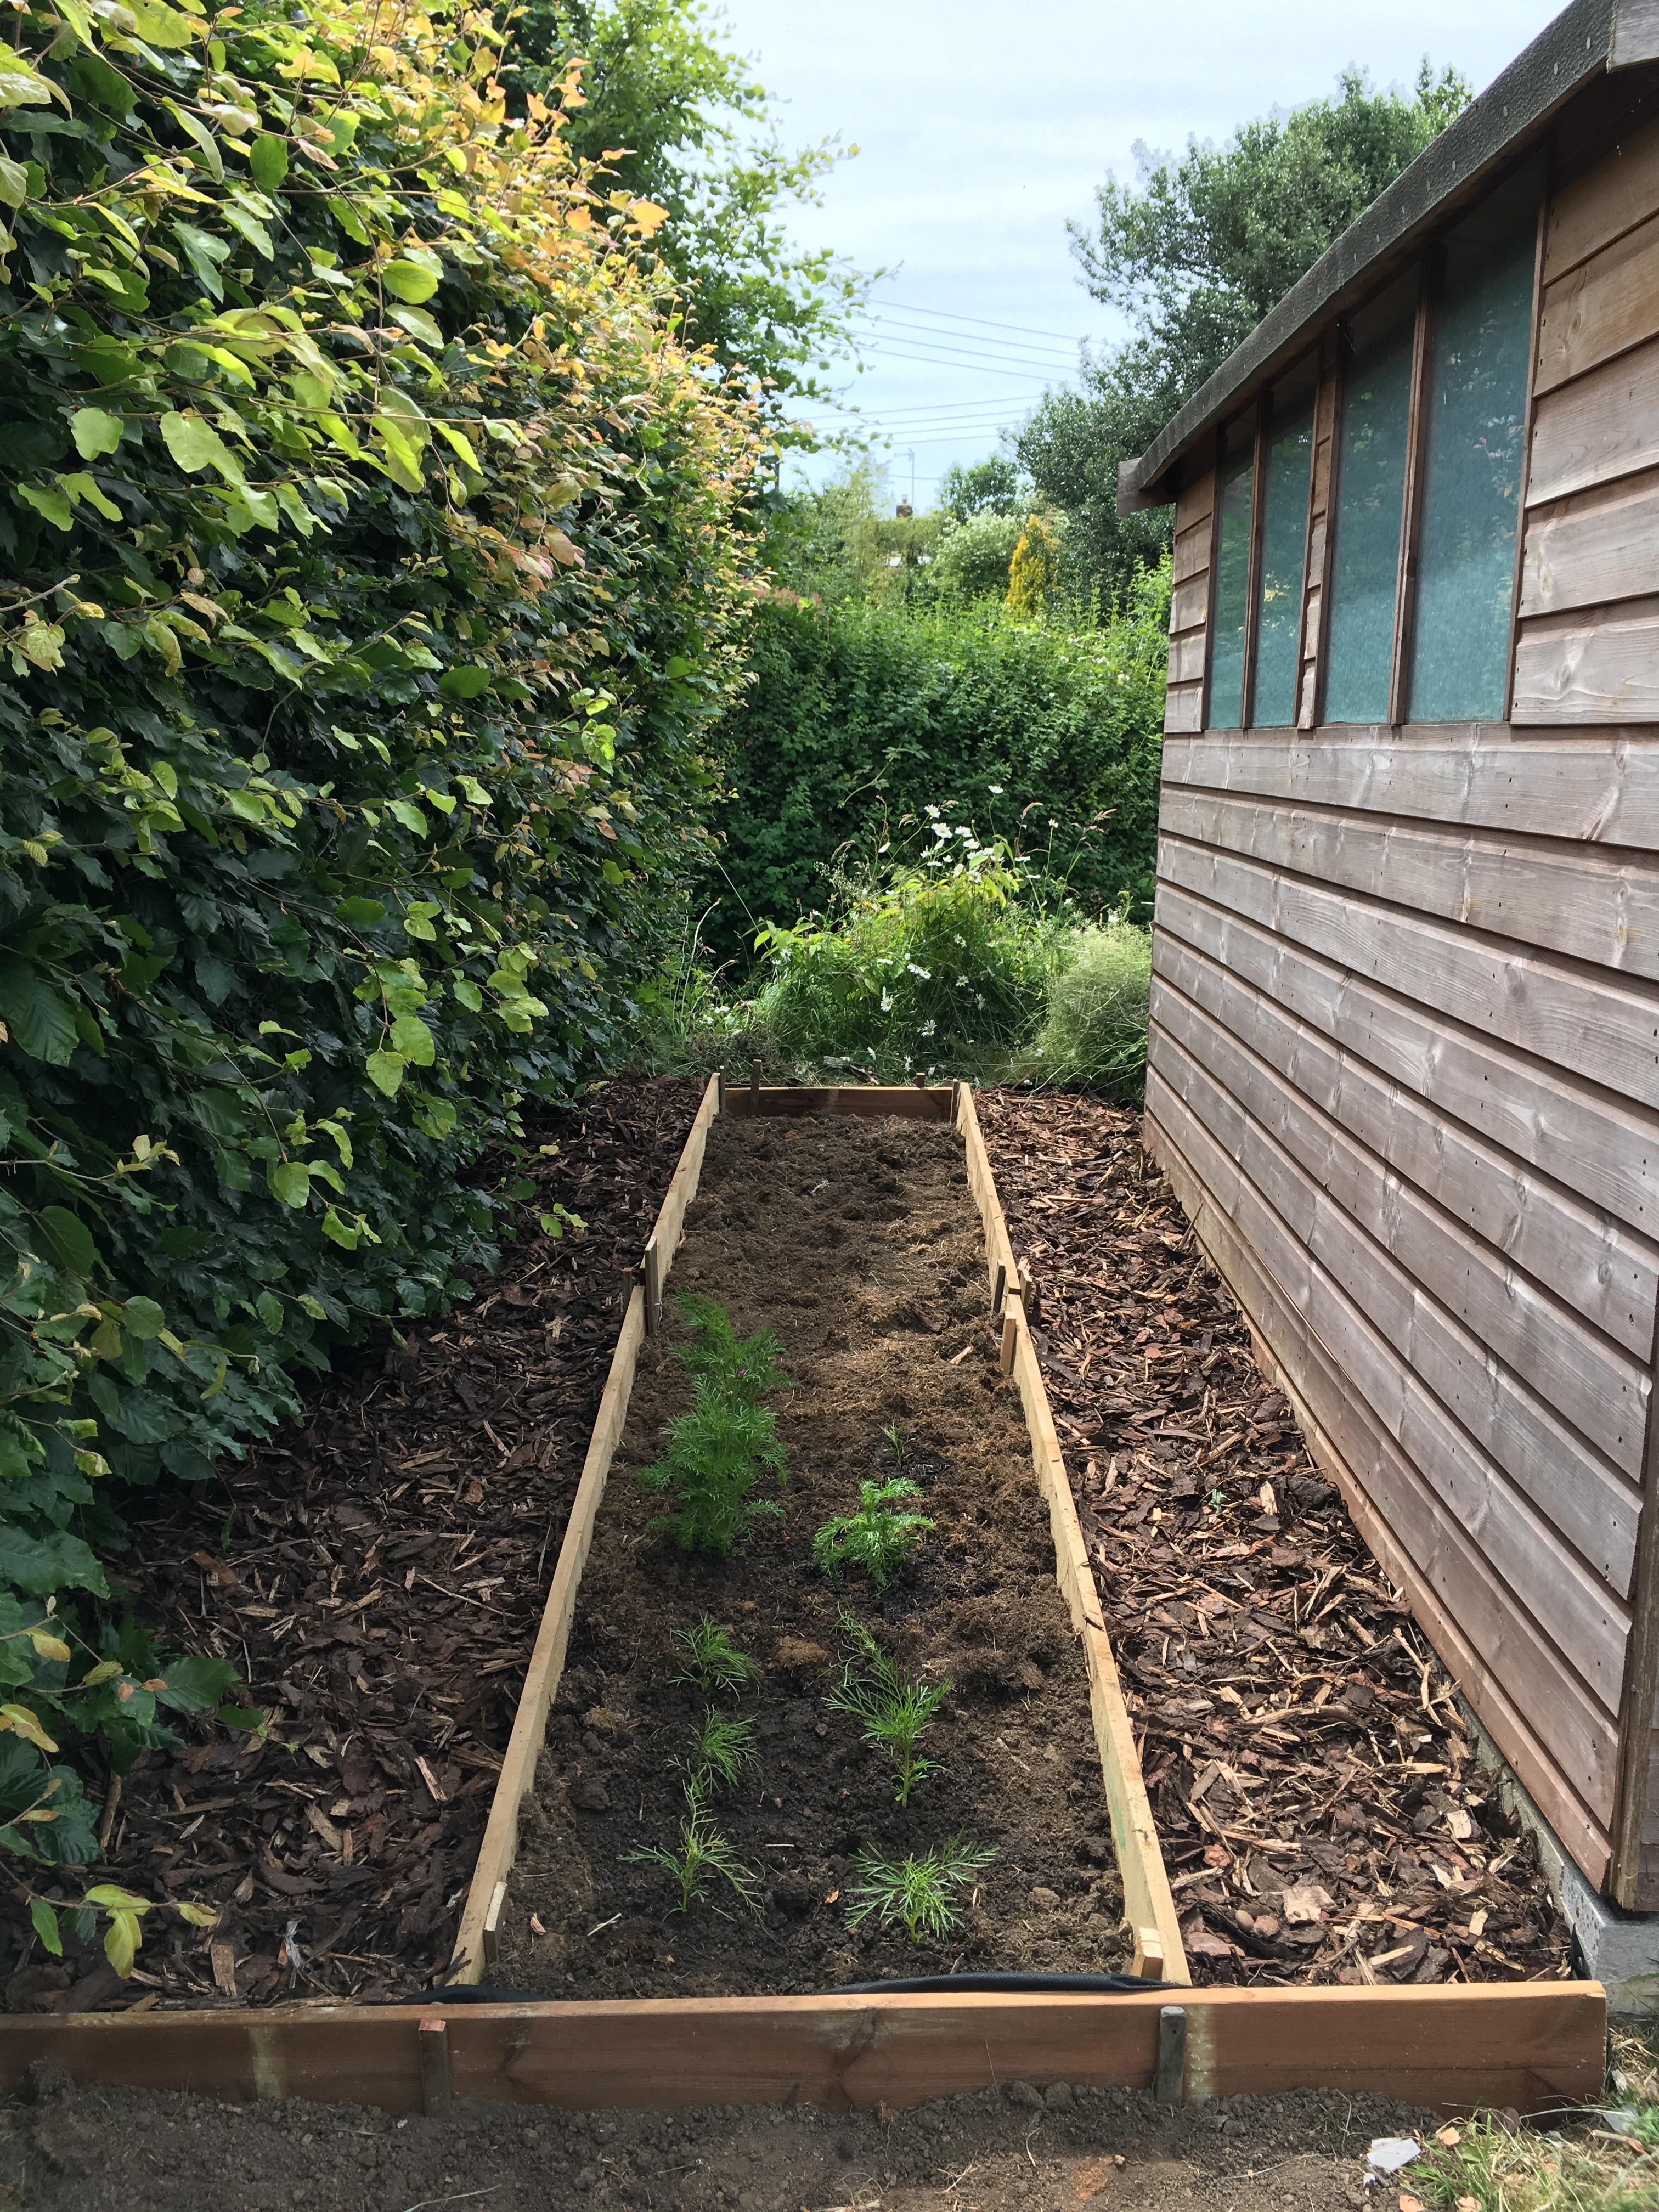
The interesting thing about painting something like a shed or barn black is how it seems to help the object “disappear”; you start to only see the green plants and blue sky, rather than the shed itself. I am thrilled with this new area.

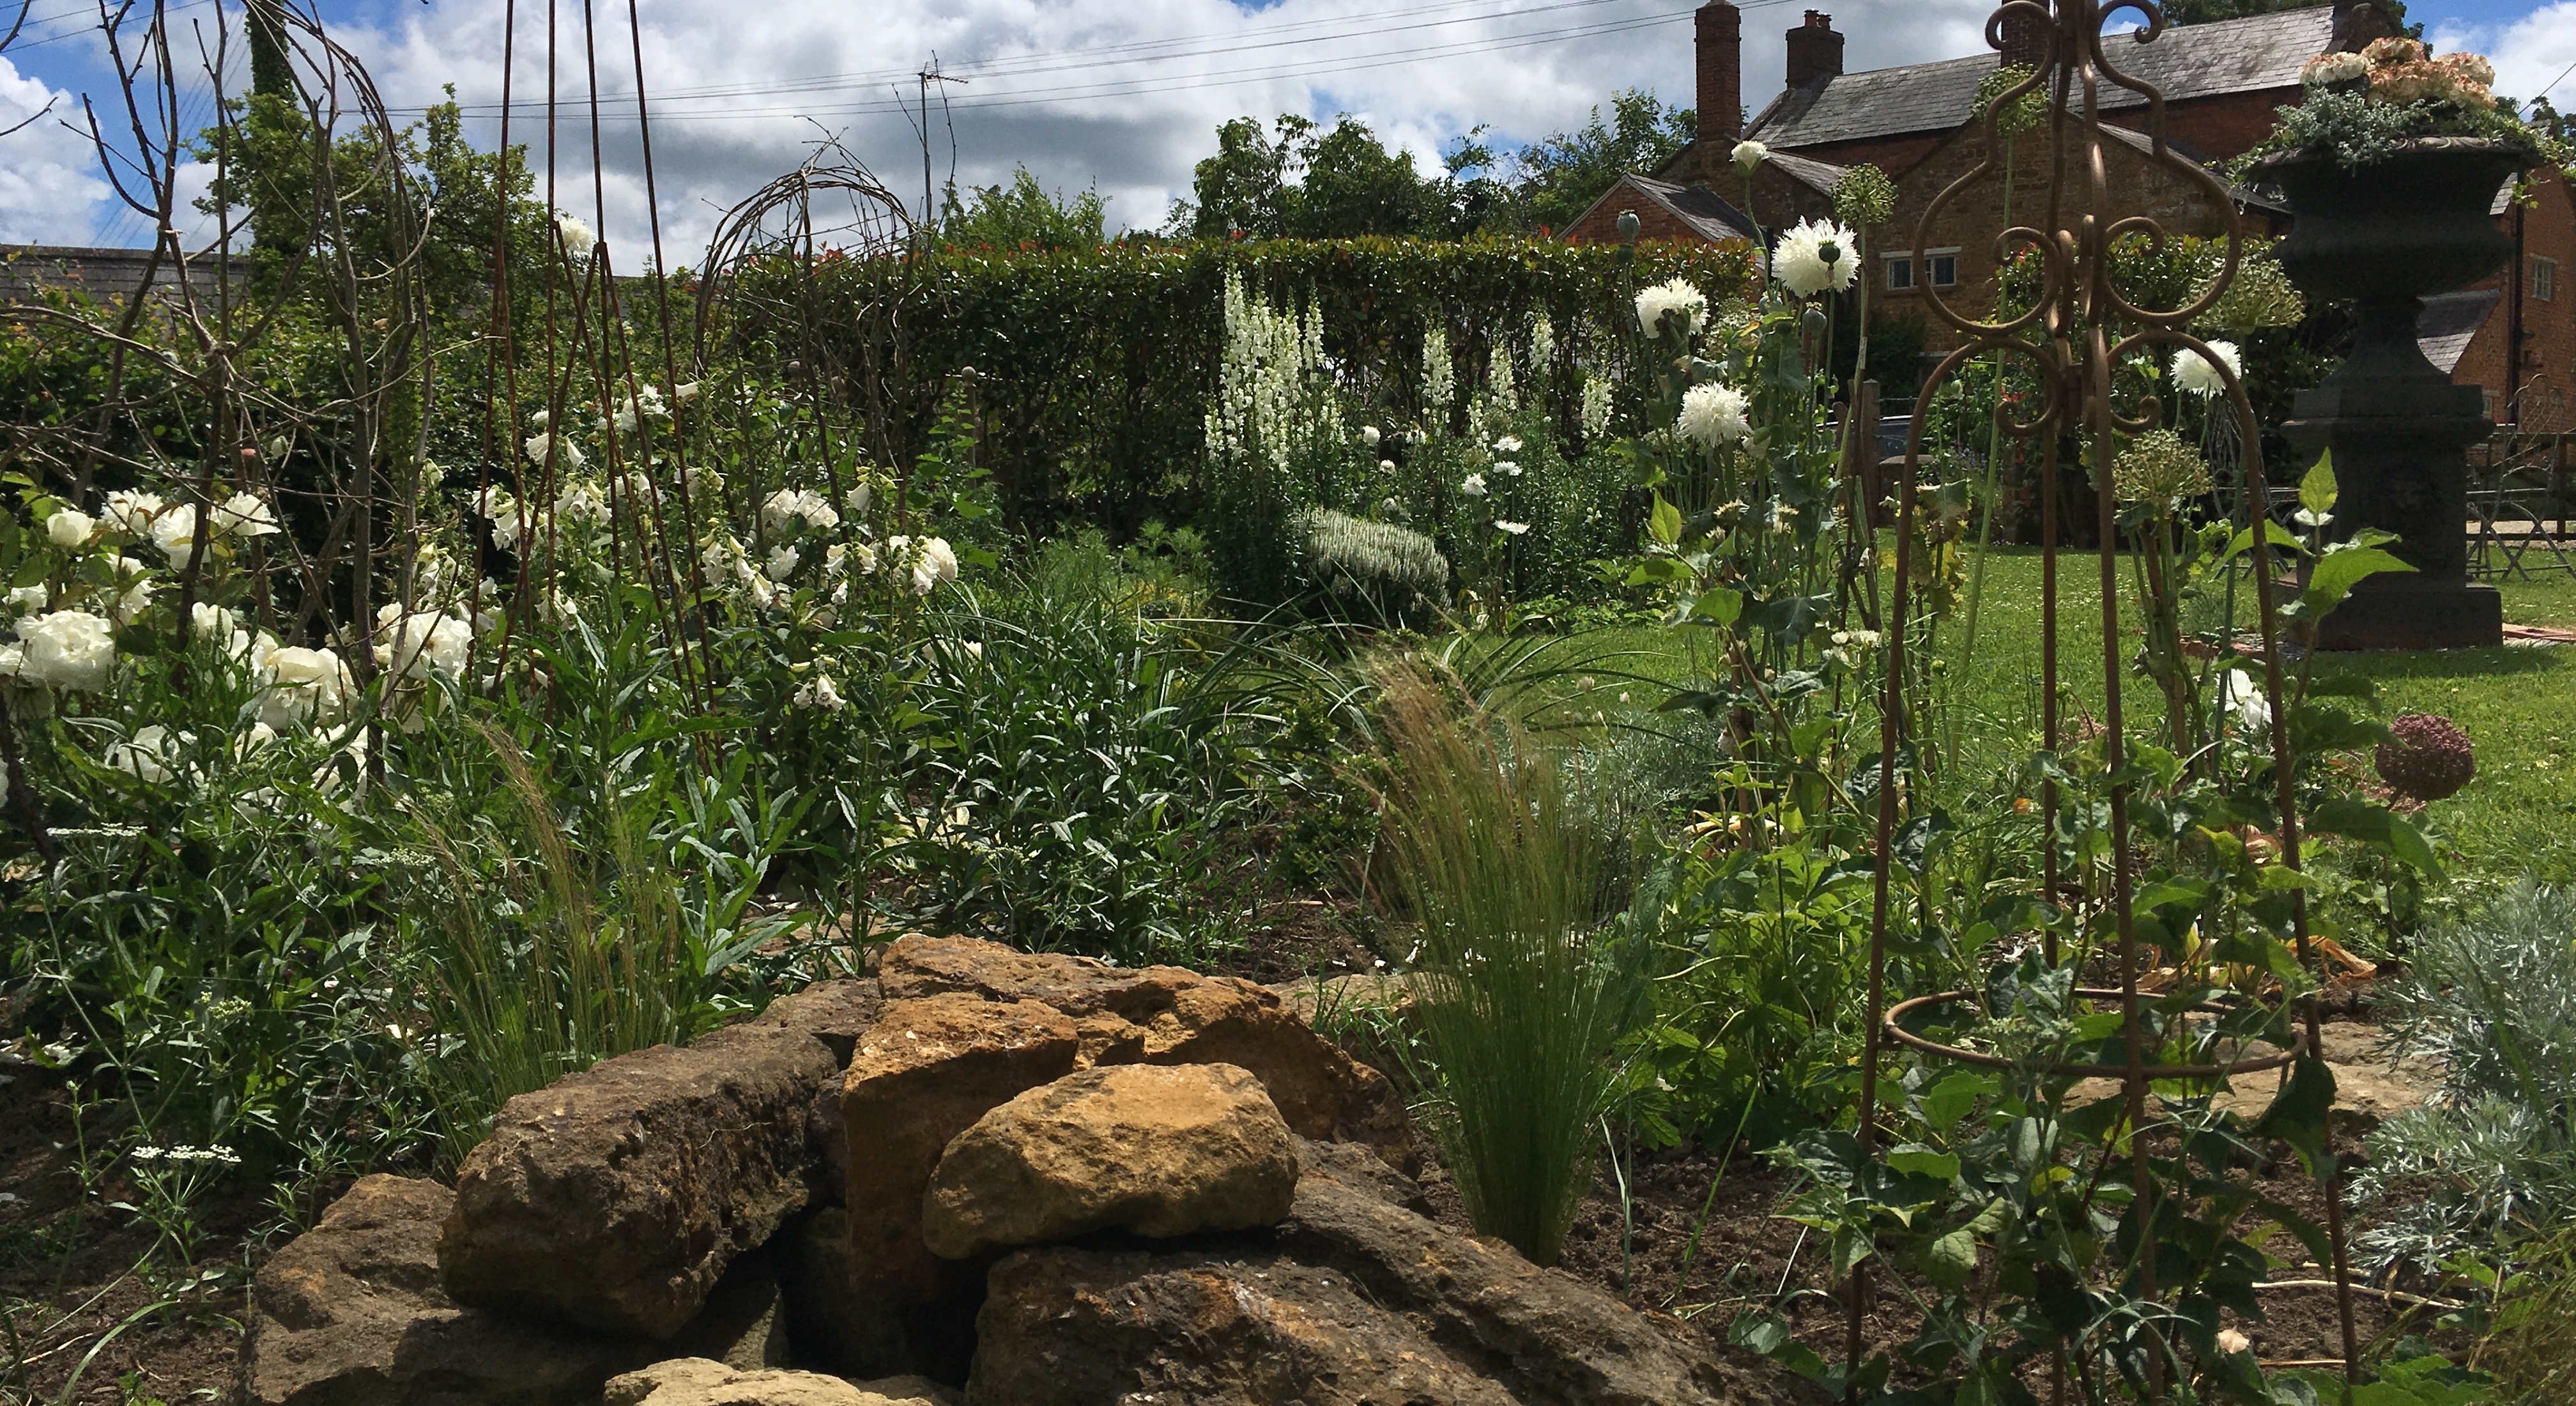
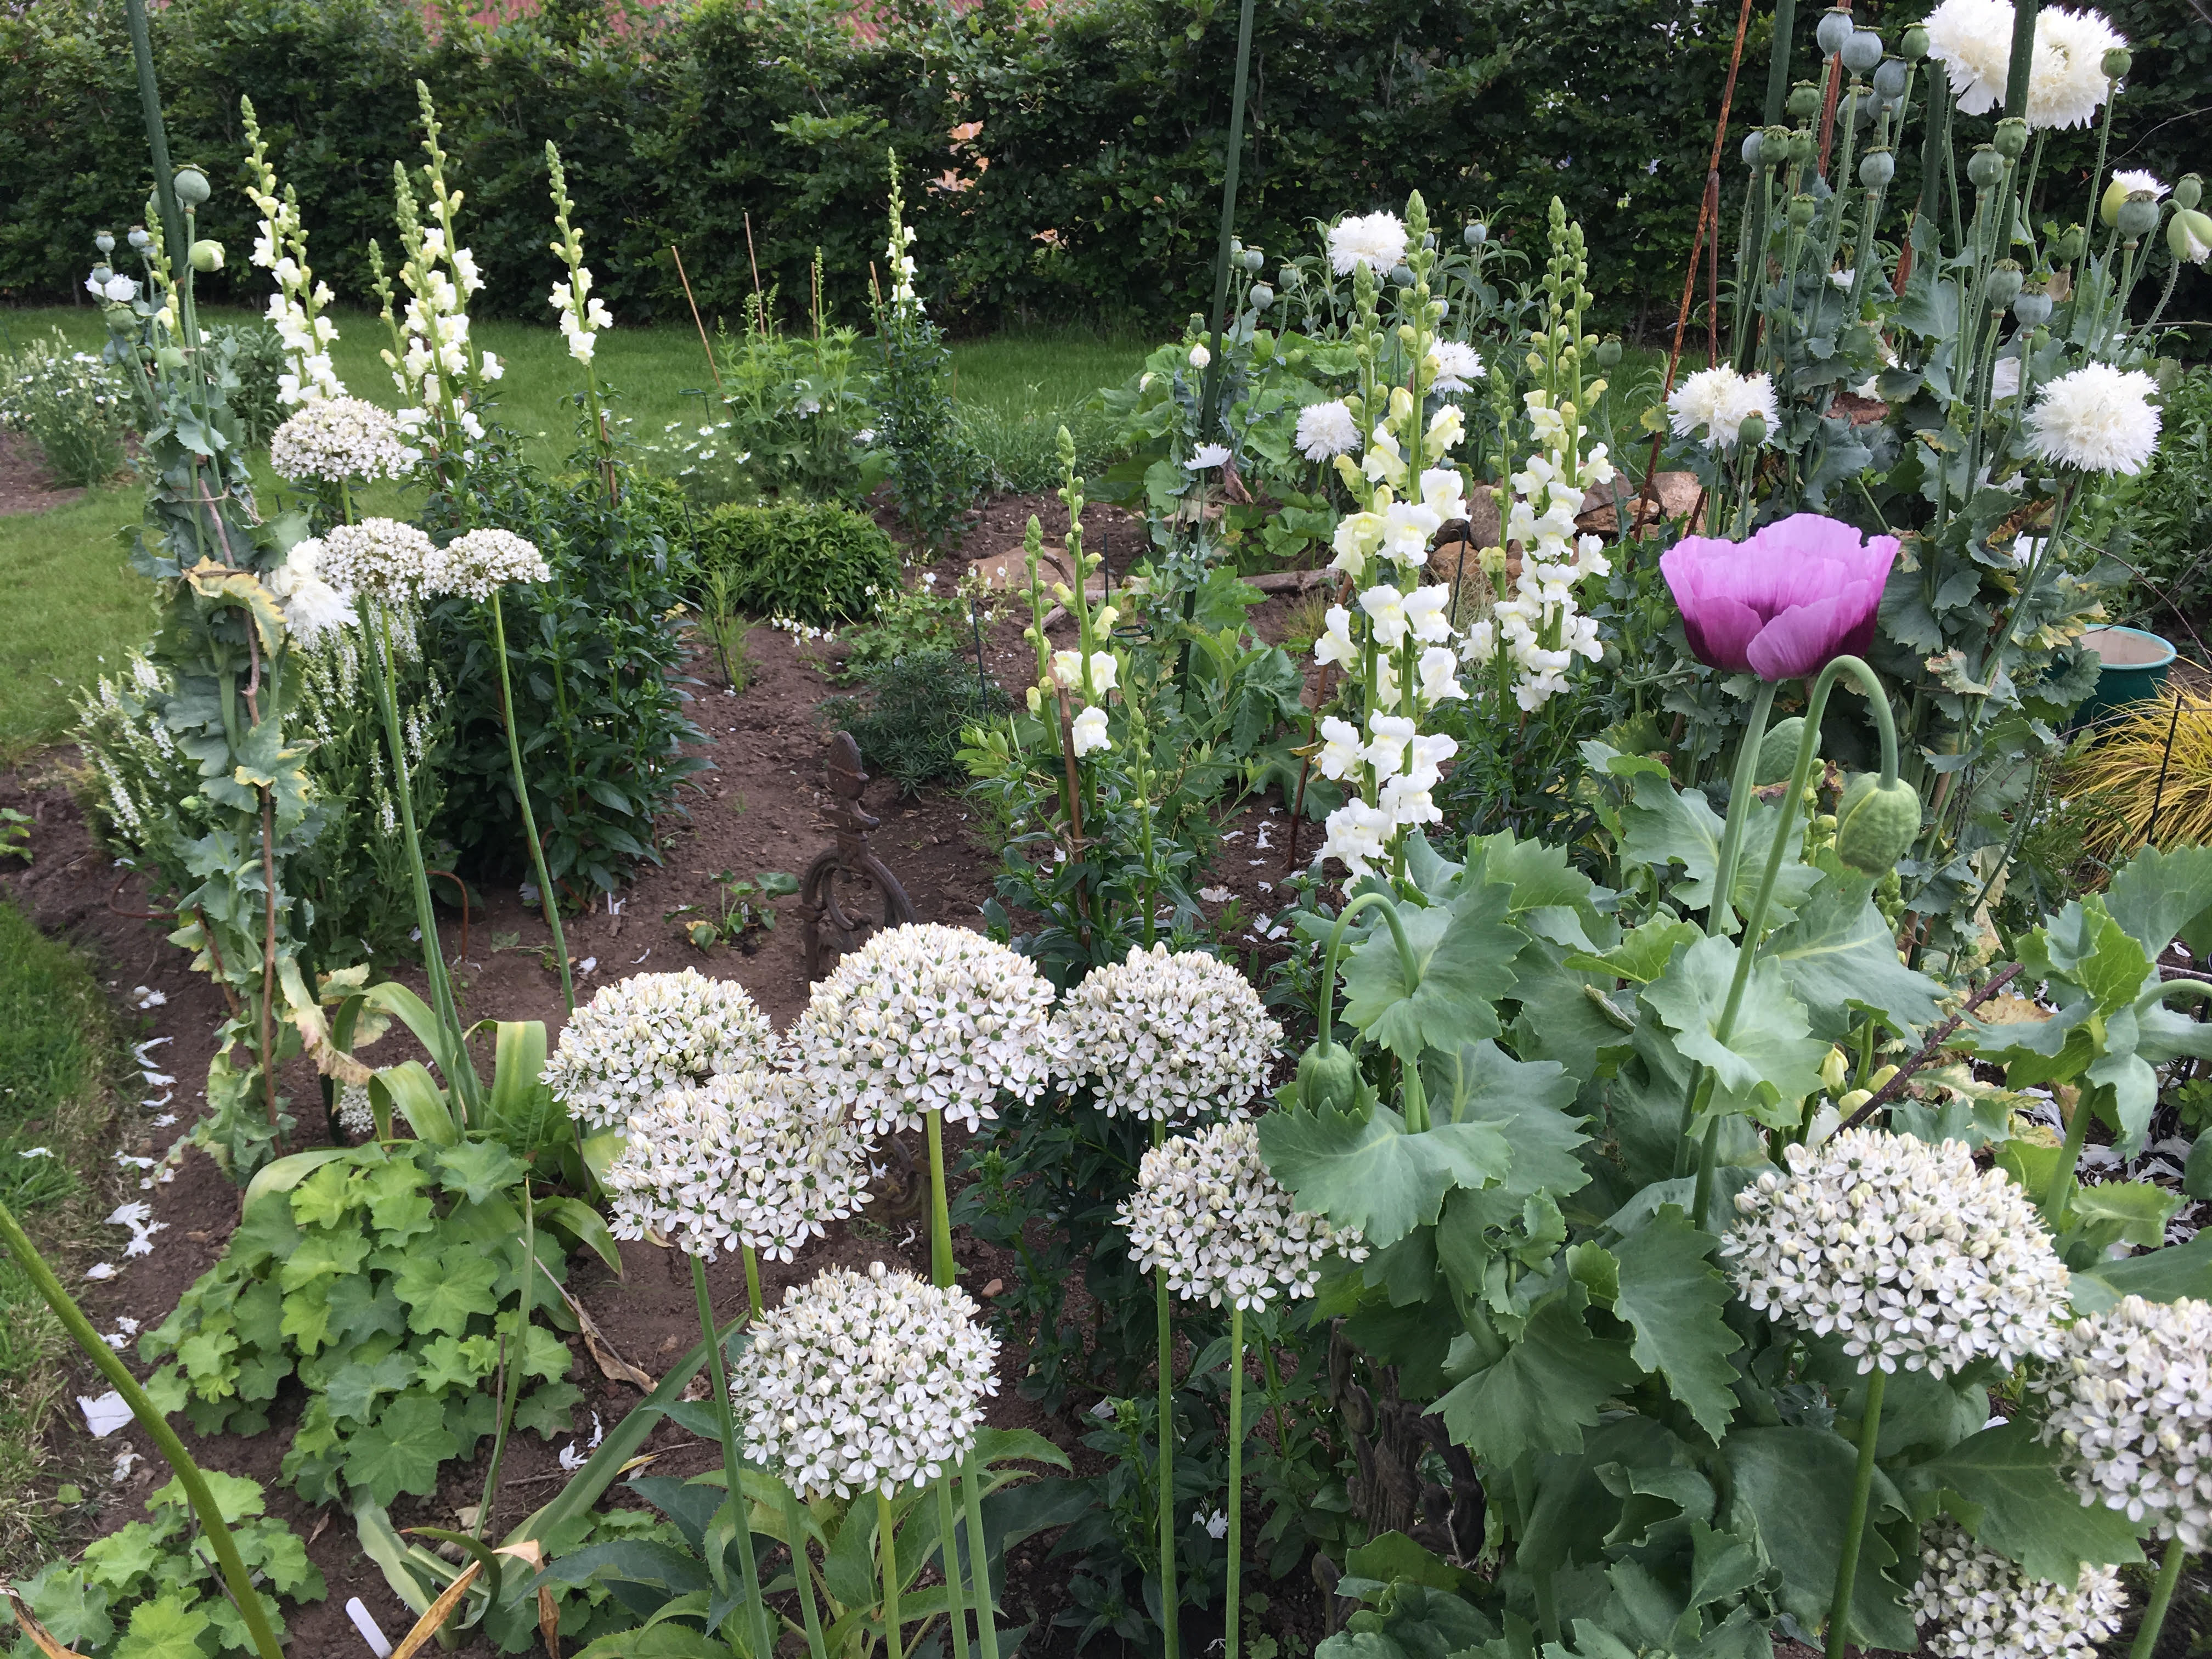
Here is a recent photo of the white garden:

White, green and grey garden

Now, what’s next …….


Annie Bee blog signature


Annie Bee xxx

The Making of the White Garden ~ 3. Which Plants Where?

Having sorted out the space for the new White Garden (parts 1&2 here) the task of researching appropriate plants was the next step.

However, my priority was to get some bulbs planted in the autumn for a blast of spring colour. So before I got down to doing the homework, I bought about 30 bulbs of 2 varieties of Allium: ‘Mount Everest’ (which can be slightly more difficult to grow than the more common purple varieties) and Allium Karataviense ‘Ivory Cream’ which is lower growing and, despite the name, annoyingly came up slightly pink. For now, it can stay, but I am learning that a few plants which have “ivory” in the name have a tendency to have either a yellow (or even pinkish) blush. How fussy one should be when building a white, green and grey garden is a good question ~ the jury is out. I also planted 2 Camassias (‘Semiplena’) and the (again) alarmingly yellow Wallflower ‘Ivory White’. These all went in at the end of September 2016. A week or so later I added 2 ‘Iceberg’ roses, and started to postcrete in a few timber structures which were left over from an unwanted fence. I am terribly keen on vertical structures in any garden and I wanted to learn how to concrete. The hardest part was keeping 2 curious kittens off the newly laid, wet concrete!

postcreting the first 3 posts

Over the next couple of months I took the risky decision to also plant up some shrubs, most of which survived despite some very sharp frosts (-9C) in our first winter at the property. I wanted a good lot of evergreen structure in both borders and to that end chose the following, mostly in twos or threes:

Sarcococca confusa; Choisya ternata ‘White Dazzler’; Daphne ‘Eternal Fragrance’; Fatsia Japonica ‘Spider’s Web; Salvia ‘Schneehugel’; Phormium tenax; Skimmia ‘Kew Garden’ and Hellebore ‘White Beauty’ + ‘Molly’s White’; Buddleja ‘White Profusion’ and Ilex Crenata, which I tried to cloud-prune, thereby almost losing them. They held on and are now thriving, but the cloud-pruning mid-winter almost killed them! A couple of Hydrangeas, one of the Fatsias and a Philadelphus sadly didn’t make it through the winter and have now been replaced (Hydrangea arborescens ‘Annabelle’ from cuttings).

My choices were made using a vast array of books in my library as well as seed and plant catalogues and various websites. I made copious lists, noted measurements of the eventual height and width and checked hardiness. The next job was to autumn sow some seeds: Sweet Pea ‘White Ensign’; Nigella ‘Albion Green Pod; Papaver (Poppy) ‘Swansdowne’; Hollyhock ‘Halo White’ and Antirrhinum (Snapdragon) ‘White Giant’. Keeping these alive and thriving over winter in the unheated greenhouse during several lengthy periods of severe frost was quite a task, but with fleece and hope, they mostly thrived. Sowing in the autumn gives you a bit of a head-start in the spring ~ with luck, by the time the last frosts are over, your strong (pinched out and potted on) plants are eager to get their roots down into the warming soil.

These plans show the bare bones of the evergreens, as it looked after the first few plants had gone in.


These 3 pics show some of my notes on possible plants, organised by Evergreen Structure, Summer and Anything Goes (not very helpful in the long-run).


Of the things I sowed, the Snapdragons, Poppies (below), Hollyhocks and Sweet Peas have all been spectacular. I am letting them all self-seed copiously, as well as spreading their love further afield in the rest of the garden.

Next time I will show where we are with the White Garden now, mid-summer of its first year and how to add grey into the mix.

Annie Bee blog signature


Annie Bee x

The Making of the White Garden ~ 2. Farewell Parterre

This post follows the first of my blogs on how the White Garden came into being.

There is that old saying,

If you want to make God laugh, tell him your plans

Plans: they are all very well, but when you are a novice, fitting a garden plan onto a lovely, fresh, white piece of A3 is asking for trouble. If only life were that simple! It took me months and a visit from my BF to accept just how wonky my back garden is; however long I watched it and however straight I wished it to be, it simply wouldn’t budge. It is as curved as a crescent moon. Or, perhaps more appropriately, a scythe. A parterre simply would not work ~ cheerio symmetry and four Weeping Pears.

A slow rethink and a new sheet of A3 and I arrived at this (below) and even this one doesn’t do the bendy nature of the beast justice:

white garden final plan

What did this new garden have going for it? Well, three lines of hedging (Copper Beech and Photinia) into which could nestle two new large, square borders for starters and a lovely, promising aspect, which is more or less due north/south. A few concerns: it sits fairly high up, so is quite exposed and I had no idea what I might find on removing the vast quantity of turf.

We moved in to the house at the end of April 2016 and it was in August that I finally set about marking out the plot. With the help of my two practically minded and mathematically competent sons, we decided on the dimensions and paced it out. Pegging it out with string made it seem very real and I was sure this was the right answer. Son No.2 came up with the brilliant idea of introducing a curve (now fondly known as “The Bill Curve”). Still more time was spent thinking (an under-rated part of planning) prior to starting the excavation. We toyed with the idea of hiring a digger and some skips (No.1 son and I both fancied the idea of a digger!) but, for various logistical reason, ended up hiring a turf cutter for a weekend. The turves (vast quantities) have all been saved and are slowly rotting down and will be added back onto the garden in 18 months or so.


The turf-cutting weekend was September 19th 2016, with a view to having the two beds ready for planting some spring-flowering bulbs in mid-autumn. It was a cold and drizzly experience, but we ploughed on, No.1 son and I, with a little help from the kittens. The turf-cutter was a big old beast of a thing to manoeuvre in the damp conditions, and if you weren’t careful, you could easily over-step the pegged lines. However, after a full day’s work the basic outline of the north and south borders were there and the turf-stacking had begun.

And what of the soil? Well, on the whole it is fairly good, apart from the remnants of a kids’ sand-pit and some hefty roots from the old orchard. The critical thing was to get as much of the grass and weeds out early on, otherwise I could see years of remedial weeding ahead of me. And nobody wants that.

The next blog will detail the plant lists and my final choices of bulbs, shrubs, perennials, grasses and annuals.

Annie Bee blog signature


Annie Bee xx

The Making of the White Garden ~ 1. The Plan

Since the relocation of Bee HQ to a small village in north Oxfordshire, (is it the Cotswolds? ~ no, not quite but we can see it from here) I have spent a great deal of time on and in my new garden. The last time we moved house, at the turn of the new millennium, we didn’t have the knowledge or the skills to design the garden ourselves, so employed a landscape garden designer. This time round I have just enough know-how, chutzpah and creativity to test myself and boy! am I having fun. I am now spending the majority of my time in the place that gives me the most pleasure: the garden.

The ‘bones’ of this garden (which is just under an acre in total) are exquisite. Clearly somebody with a good eye for structure, dimension and form planted heaps of simple but useful yew, copper beech and box hedging, a few good shrubs (repeated throughout the garden), a handful of hardy perennials, some classic topiary and half a dozen espaliered fruit trees. The lines are clean, the proportions are just right and the borders, such as they are, are small but of reasonable depth. Apart from a bit of tinkering, I have left all that largely alone, other than pruning, trimming and general maintenance. The soil still needs a lot of organic matter adding, but that will happen over the next few years, and beyond.

On first seeing the garden, in January of 2016, I was struck by the opportunity to do something bold with a fairly large expanse of lawn at the back of the house. A sales brochure from 1874 calls the house a “gentleman’s farmhouse”; it was built at the very end of the 1700s. The brochure also talks of “a large piece of highly productive garden ground and lawn”. Neighbours have said that a few decades ago, there was an orchard on the area in question and the village children used it as a playground. Presumably in the mists of time, it may have had farm animals on and around it. Certainly the soil is generally fairly good at the back. Unlike the front of the house, which is quite manicured and designed, we found a rather dull and under-utilised space ~ perfect for a new project; it felt like the owners who made all the design decisions at the front simply ran out of steam.  I must admit now that even before we had exchanged contracts on the house, I was already planning what I grandly referred to as my parterre. I even did some initial drawings.

Below, you can see my (very) rough drawing of how it looked in the January, followed by a photo (looking north-ish) which should give you an idea of the blank canvas. The two lines of fastigiate yews made no sense to me at all and they were removed (and resold and therefore reused) within a week of us moving in. The white A3 plan below that is a very simple sketch of the ‘parterre’ idea and I was bold enough to include a plant list. At that stage, the idea of it being a white (+ green + grey) garden hadn’t occurred to me.


White Garden

What did happen when we moved in at the end of April 2016, was that I planted up a cutting garden (look out for a separate blog post to come) and spent several months deciding whether the parterre idea could work. Taking that time to decide ended up being an excellent decision. So how does it look right now, in June of its first year?

Annie Bee\s white garden south border


Annie Bee's white garden north border


More soon ……..

Annie Bee blog signature


Annie Bee x